How to Create Product Demo Videos That Convert
What Makes a Product Demo Video Effective
A product demo video shows potential customers how your product works, what problems it solves, and why it is better than alternatives. The most effective demo videos follow a clear structure: hook the viewer with a relatable problem, demonstrate the product as the solution, highlight key features with visual proof, and end with a clear call to action. The entire video should be 60-90 seconds for social media and landing pages, or 3-5 minutes for detailed product pages and webinars.
The difference between a demo video that converts and one that does not is focus. High-converting demos show the product in action rather than talking about it. They use screen recordings, close-up shots, and real-world scenarios to demonstrate value visually. They address specific customer pain points and show exactly how the product resolves each one. Low-converting demos rely on talking heads, feature lists, and generic marketing language that does not give viewers a concrete understanding of the product experience.
Planning Your Demo Video Script
Write your script before recording anything. Start with the problem statement: describe the frustration or challenge your target customer faces. Use specific language that resonates with your audience. Instead of "Managing projects is hard," say "You spend 3 hours every week updating spreadsheets, chasing team members for status updates, and manually compiling reports." Specificity makes the problem feel real and urgent.
Next, introduce your product as the solution. Show the product interface or physical product within the first 10 seconds. Viewers should immediately see what the product looks like and understand its basic function. Then, walk through 3-5 key features, demonstrating each one with a concrete example. For a software product, show the screen as you perform the action. For a physical product, show close-up shots of the product being used. For each feature, state the benefit before showing the feature: "Save 2 hours per week with automated reporting" followed by a screen recording of the reporting feature in action.
End with a clear call to action that tells the viewer exactly what to do next. "Start your free trial at example.com," "Request a demo," or "Download now." The call to action should be specific, actionable, and easy to complete. Avoid vague CTAs like "Learn more" or "Check it out." Include the call to action both verbally and as a text overlay on screen.
Recording Your Product Demo
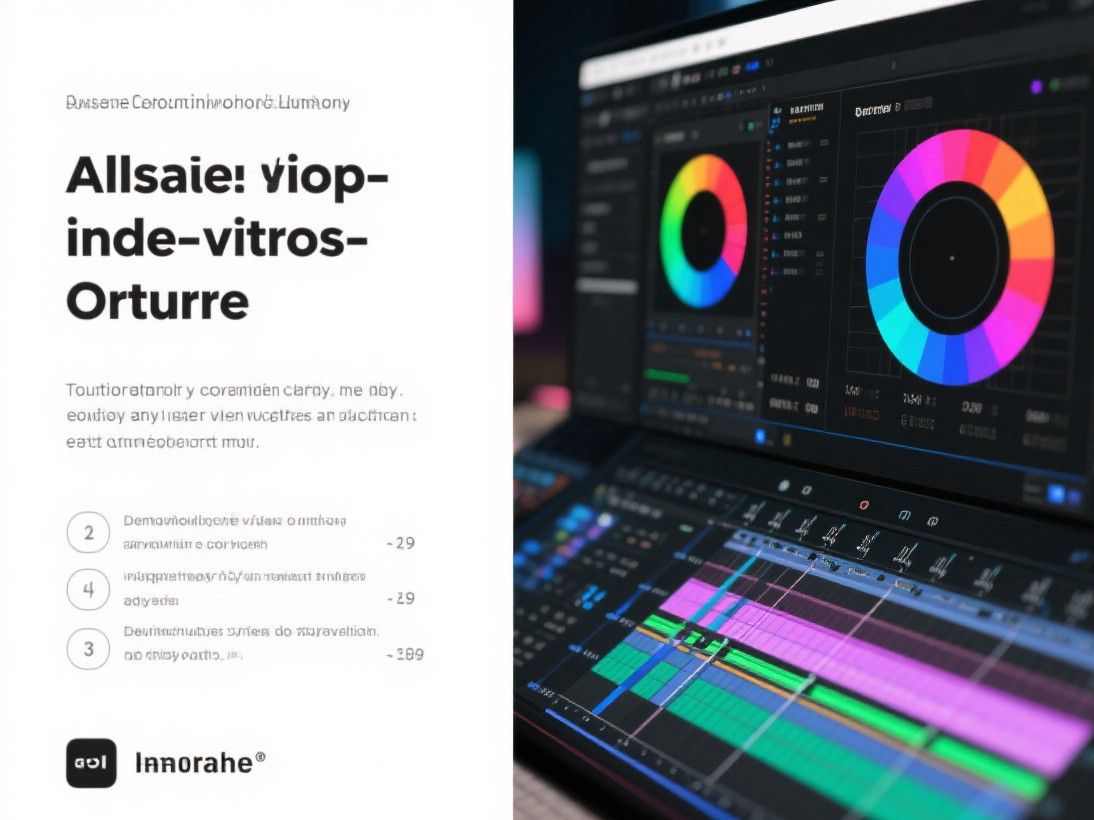
For software products, use a screen recording tool like OBS Studio, Camtasia, or Loom. Set your screen resolution to 1080p and increase the UI scaling to 125-150% so text and interface elements are clearly visible. Close all unnecessary applications and browser tabs. Disable desktop notifications. Use a consistent cursor speed and avoid sudden mouse movements. Record in segments rather than one continuous take, pausing between sections to create natural edit points.
For physical products, use a well-lit recording environment. A ring light or softbox provides even illumination without harsh shadows. Use a tripod or gimbal to keep the camera steady. Record close-up shots of the product in use, showing hands interacting with buttons, screens, or moving parts. Capture multiple angles of the same action to give the editor options during post-production. Record ambient audio or add a voiceover during editing.
Audio quality is critical. Record your voiceover in a quiet room with a decent microphone. If you cannot record in a perfectly quiet space, use a noise gate and noise reduction in post-production. Speak clearly and at a moderate pace. For software demos, narrate your actions as you perform them: "I am clicking the Create Report button, and the report generates automatically in under 10 seconds." This narration helps viewers follow along even when screen details are small.
Editing for Maximum Impact
Edit your demo video to maintain a brisk pace that holds viewer attention. Remove all dead air, mistakes, and filler words. Add zoom effects to highlight specific interface elements during screen recordings. When you click a button or navigate to a feature, zoom in so viewers can see exactly what is happening. Most screen recording tools include zoom and pan features, or you can add zoom effects in your video editor during post-production.
Add text overlays for key statistics, feature names, and pricing information. Viewers often watch videos without sound, so text overlays ensure your key messages are communicated regardless of audio settings. Use a consistent text style throughout the video: same font, same size, same color. Place text in the lower third of the frame to avoid overlapping with important visual content.
Include a progress indicator that shows viewers how much of the demo remains. This reduces drop-off by setting expectations about the video length. Add chapter markers or timestamps in the description for longer demos, allowing viewers to jump to specific features they are interested in. Use background music at a low volume to maintain energy without distracting from the narration. Choose music that matches your brand personality: upbeat for consumer products, professional for B2B software, calm for wellness products.
Optimizing for Conversion
Place your demo video prominently on your product page, ideally above the fold. The video should be one of the first things visitors see when they land on your page. Include a compelling thumbnail that shows the product in action with a brief text overlay like "See it in action" or "2-minute demo." Add a play button overlay on the thumbnail to make it clear that the image is a video. Below the video, include a clear call-to-action button that matches the CTA in the video itself. Track video engagement analytics to understand how viewers interact with your demo: where they drop off, which features generate the most rewinds, and what percentage of viewers watch until the call to action. Use this data to iterate and improve your demo over time.
A/B Testing Your Demo Video
Creating a single demo video is a good start, but the most effective approach is to create two versions and test them against each other. A/B testing your demo video reveals which version drives more conversions, longer watch times, and higher engagement. Test different elements: the opening hook, the order of features demonstrated, the call-to-action wording, and the background music. Change only one variable at a time so you can attribute performance differences to specific changes.
Use your landing page platform or video hosting tool to serve different video versions to different visitors and track conversion metrics. Most video hosting platforms like Wistia and Vidyard include A/B testing features for thumbnails and CTAs. For full video A/B testing, tools like Google Optimize or Optimizely can redirect visitors to different video URLs. Run the test for at least one week with a minimum of 100 conversions per variation to achieve statistical significance. Use the results to refine your demo video iteratively, applying the winning elements to future video content.