How to Create Slow Motion Videos That Look Cinematic
The Science Behind Smooth Slow Motion
Slow motion works by displaying footage at a slower frame rate than it was recorded. If you record at 120 frames per second (fps) and play back at 24fps, the footage appears five times slower than real time. The key to smooth slow motion is having enough frames to fill the slower playback. Recording at 60fps and slowing to 30fps gives you 2x slow motion, which looks decent. Recording at 120fps and slowing to 24fps gives you 5x slow motion, which looks dramatically smooth. Recording at 240fps enables 10x slow motion for extreme effect.
The challenge arises when you try to create slow motion from footage recorded at a normal frame rate (24fps or 30fps). Slowing 30fps footage to 15fps produces choppy, stuttering video because there are not enough frames to maintain smooth motion. Software can interpolate intermediate frames using optical flow algorithms, but the results vary in quality. For the best slow motion, always record at a higher frame rate when possible. Modern smartphones and most cameras offer high frame rate modes (60fps, 120fps, or 240fps) specifically for slow motion capture.
Shooting Tips for Better Slow Motion
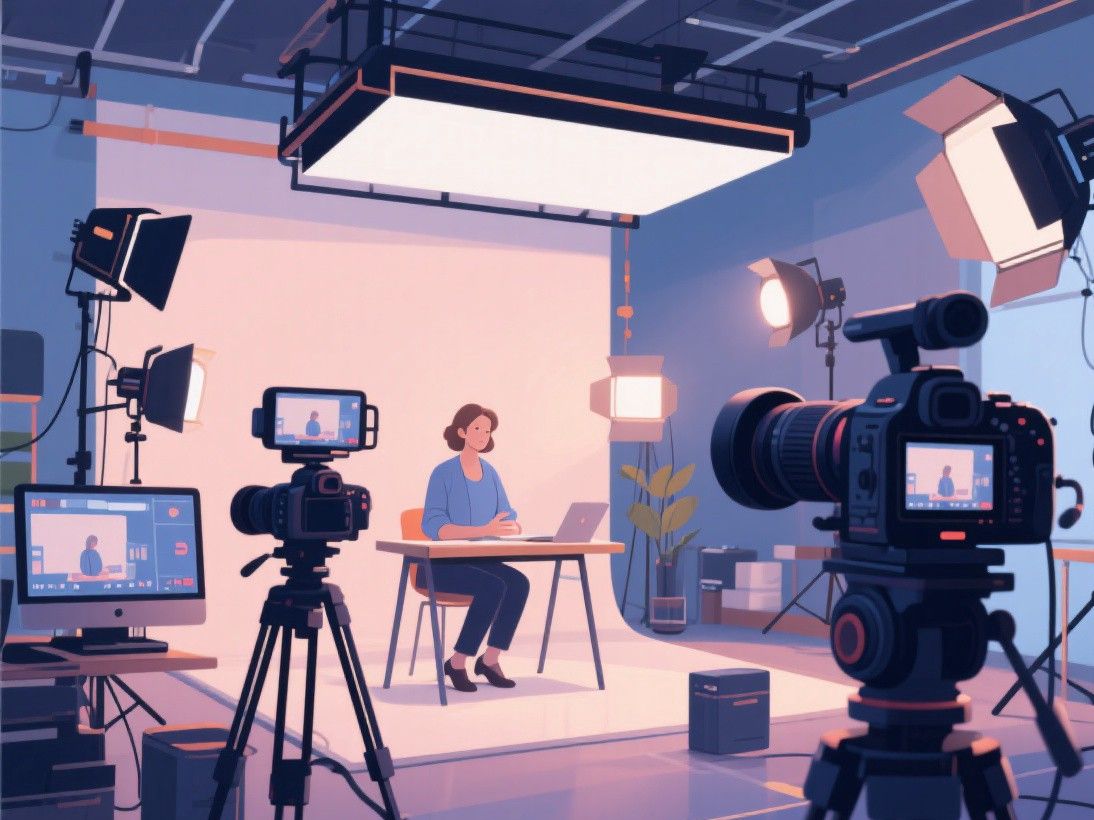
Capture your footage at the highest frame rate your camera supports. On smartphones, look for the "Slow Mo" mode in the camera app, which typically records at 120fps or 240fps. On DSLR and mirrorless cameras, switch to a high-speed frame rate in the video settings menu. Be aware that higher frame rates often require lower resolution and may reduce dynamic range and low-light performance. On most cameras, 120fps is limited to 1080p rather than 4K.
Lighting is critical for slow motion. Higher frame rates shorten the exposure time for each frame, which means each frame receives less light. Shooting slow motion in low light produces dark, noisy footage. Use ample lighting, open your aperture wider, or increase ISO to compensate. Outdoors on a sunny day is ideal for slow motion. If shooting indoors, position your subject near a window or use artificial lighting.
Shutter speed should follow the 180-degree rule for natural motion blur: set your shutter speed to double the inverse of your frame rate. At 120fps, the shutter speed should be 1/240 second. At 240fps, use 1/480 second. Most cameras handle this automatically in their video modes, but if you have manual control, following this rule produces the most natural-looking motion blur in slow motion. Too fast a shutter speed makes the footage look strobe-like, while too slow creates excessive blur that looks smeared.
Creating Slow Motion in DaVinci Resolve

DaVinci Resolve offers precise slow motion control through its speed change features. Import your high frame rate footage and place it on a 24fps timeline. Right-click the clip and select "Change Clip Speed." Set the speed to a fraction of normal: 0.25 for 4x slow motion (120fps to 30fps), 0.2 for 5x (120fps to 24fps), or 0.1 for 10x (240fps to 24fps). DaVinci Resolve plays the clip at the reduced speed using all available frames from the source footage.
For footage recorded at normal frame rates that you want to slow down, enable optical flow. In DaVinci Resolve, go to Project Settings, then Master Settings, and enable "Optical Flow for Speed Changes." When you slow a clip below its native frame rate, DaVinci Resolve generates intermediate frames using motion estimation. The results are not as smooth as native high frame rate footage, but they are significantly better than simple frame duplication.
Speed ramping is a popular technique where the speed changes within a single clip. Start at normal speed, gradually slow down for a dramatic moment, then return to normal speed. In DaVinci Resolve, open the Speed Editor panel, add speed keyframes on the timeline, and set different speed values at each keyframe. The interpolation between keyframes creates a smooth acceleration and deceleration effect. This technique is widely used in sports highlights, music videos, and action sequences to draw attention to specific moments.
Slow Motion in Adobe Premiere Pro
Adobe Premiere Pro provides similar slow motion capabilities through the Speed/Duration dialog and the Time Remapping feature. To apply uniform slow motion, right-click a clip, select "Speed/Duration," and set the speed percentage. For a 120fps clip on a 24fps timeline, set the speed to 20% for 5x slow motion. Premiere Pro automatically interprets the footage's frame rate and uses all available frames.
Time Remapping offers variable speed control. Right-click a clip and select "Show Clip Keyframes," then "Time Remapping," then "Speed." A speed line appears on the clip. Click to add keyframes and drag the speed line up or down to change speed at different points. The white line between keyframes controls the transition smoothness. Dragging it up creates a slow transition between speeds, while leaving it at the center creates an instant change. Premiere Pro also supports optical flow interpolation through the "Time Interpolation" setting in the clip properties.
Premiere Pro's interpretation settings are important for high frame rate footage. Before importing, select your footage in the media browser and choose "Modify," then "Interpret Footage." Set the frame rate to match your recording frame rate (e.g., 120fps). This tells Premiere Pro the correct frame rate so it can use all frames during slow motion rather than treating the footage as 24fps and only using every fifth frame.
Adding Cinematic Polish to Slow Motion
Color grading enhances the cinematic quality of slow motion footage. Apply a color grade that emphasizes the mood of your scene: warm tones for golden hour footage, cool blue tones for dramatic effect, or high contrast for action sequences. Slow motion footage benefits from slightly increased saturation and contrast because the slower pace gives viewers more time to appreciate visual details. Add subtle lens effects like vignetting and film grain to give the footage a cinematic texture. Pair your slow motion with music that matches the tempo, using a dramatic swell or a slow, atmospheric track to complement the visual pace. Export at the highest quality settings to preserve the smooth motion and visual detail that make slow motion compelling.
Common Slow Motion Mistakes to Avoid
The most common slow motion mistake is overusing the effect. When every moment is in slow motion, the technique loses its impact.
Another mistake is ignoring audio. Slow motion video without audio adjustment feels disconnected. When you slow down video, you should also slow down the audio proportionally. Most editing software does this automatically, but the result can sound unnatural. A common technique is to replace the slowed audio with music or ambient sound, which maintains the emotional impact without the strange pitch-shifted audio artifacts. Some creators use a "speed ramp audio" technique where the audio slows down briefly during the transition to slow motion, creating a dramatic whooshing effect that emphasizes the speed change.