How to Create Video Tutorials That People Actually Watch
Planning Your Tutorial Before You Hit Record
The most common mistake in tutorial video creation is pressing record without a clear plan. A well-structured tutorial follows a logical progression: introduce the problem, show the solution step by step, and summarize what was covered. Before recording, write an outline that breaks your topic into discrete steps. Each step should be short enough to explain in 30-60 seconds. If a step requires more than two minutes, consider splitting it into sub-steps.
Your outline should also include the visual elements for each step. Will you show your screen, use a camera to demonstrate a physical process, or combine both? Knowing your visual plan in advance helps you set up your recording environment correctly and avoids the need to re-record sections because you forgot to show something important. A detailed outline typically takes 15-20 minutes to create and saves hours of re-recording and editing time.
Setting Up Your Recording Environment
Audio quality is more important than video quality for tutorials. Viewers will tolerate a slightly blurry screen recording, but they will click away from a video with echoey, muffled, or inconsistent audio. Use a dedicated microphone rather than your laptop's built-in mic. A USB condenser mic like the Blue Yeti or Audio-Technica ATR2500 costs $80-$150 and produces noticeably better audio. Position the mic 6-8 inches from your mouth and speak at a consistent volume.
For screen recordings, close unnecessary applications and browser tabs to reduce distractions. Set your screen resolution to 1080p for recording, even if your monitor is higher resolution. This keeps file sizes manageable and ensures your recording looks good on the devices your viewers are using. Disable desktop notifications so pop-ups do not appear during recording. If you are recording a software tutorial, increase the UI scaling to 125% or 150% so text and buttons are clearly visible in the recording.
Lighting matters if you are showing your face in a webcam overlay. Position a light source in front of you (not behind) to illuminate your face evenly. A ring light or desk lamp with a diffuser works well. Avoid having windows behind you, as backlighting turns you into a silhouette. If you wear glasses, adjust the light angle to minimize reflections on the lenses.
Recording Techniques That Keep Viewers Engaged
Start every tutorial with a brief hook that tells viewers exactly what they will learn and why it matters. Instead of "In this video, I will show you how to use Photoshop," try "By the end of this video, you will be able to remove backgrounds from any photo in under 30 seconds." Specific, benefit-oriented hooks give viewers a reason to keep watching.
When demonstrating software, narrate your actions as you perform them. Say "I am clicking the File menu and selecting Export" rather than silently clicking and assuming viewers can follow. Move the cursor slowly and deliberately. Pause after each action to give viewers time to process what happened. Use cursor highlighting tools (available in OBS, Camtasia, and ScreenFlow) that add a yellow circle or spotlight around your cursor so viewers can easily track its position on screen.
Record in segments rather than one continuous take. After completing each major step, pause for a few seconds, then start the next step. These pauses create natural break points for editing. If you make a mistake, do not stop recording. Instead, pause for three seconds, then re-state the sentence or redo the action. The three-second gap makes it easy to identify and remove the mistake during editing. This approach is much faster than stopping and restarting the recording for every error.
Editing for Clarity and Pace
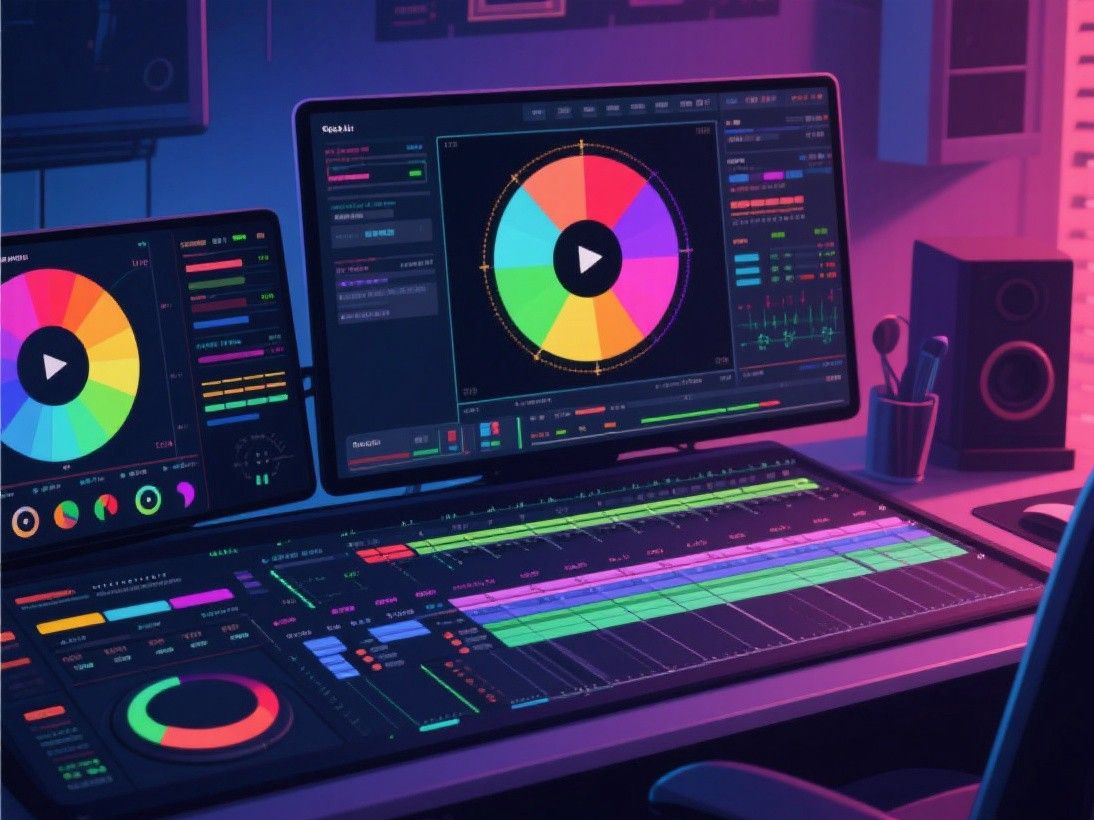
The editing phase is where you transform raw footage into a polished tutorial. Start by removing all mistakes, long pauses, filler words (um, uh, you know), and dead air. A good tutorial moves at a brisk pace without rushing. Most raw recordings can be trimmed by 30-40% without losing any content, simply by removing dead time and errors.
Add zoom effects to highlight specific areas of your screen recording. When you click a small button or navigate to a specific menu item, zoom in so viewers can see exactly what you are doing. Most screen recording tools include zoom and pan effects. In Camtasia, use the Zoom-n-Pan feature. In OBS, use the crop/zoom filter on your screen capture source. Zoom transitions should be smooth and last 0.5-1 second to avoid jarring the viewer.
Text overlays reinforce key points and help viewers who are skimming. Add text callouts for important shortcuts, menu names, and settings values. Use consistent text styling throughout your tutorial: same font, same size, same color. Place text in a consistent location (typically the lower third of the screen) so viewers know where to look. Add chapter markers or timestamps in your video description so viewers can jump to specific sections when re-watching or referencing the tutorial later.
Adding Captions and Publishing
Captions are essential for tutorial videos because many viewers watch in environments where they cannot use speakers. Use an auto-caption tool to generate subtitles, then review and correct them for accuracy. Technical terms, keyboard shortcuts, and software names are often misrecognized by speech-to-text engines, so pay special attention to these. Upload your captions as an SRT file alongside your video for the best results.
Choose a descriptive title that includes the specific task you are teaching. "How to Remove Backgrounds in Photoshop (Step-by-Step Tutorial)" performs better than "Photoshop Tips and Tricks." Write a description that summarizes the tutorial, lists the tools or software covered, and includes timestamps for each section. End your video with a call to action: ask viewers to subscribe, leave a comment with questions, or check out a related tutorial. This simple step significantly increases engagement metrics that boost your video's visibility in search results and recommendations.
Measuring Tutorial Video Performance
After publishing your tutorial, track its performance to understand what works and what does not. The most important metrics for tutorial videos are average view duration (how long viewers watch), audience retention (where viewers drop off), and engagement rate (likes, comments, shares relative to views).
Comments are particularly valuable for tutorials because viewers often ask follow-up questions or point out steps that were unclear. Respond to comments promptly and use the feedback to improve future tutorials. If multiple viewers ask the same question, consider creating a follow-up video that addresses that topic. Also track whether your tutorial drives the desired action: if your goal is to teach a software tool, track how many viewers click the link in your description to try the tool. If your goal is to build your channel, track subscriber growth from each tutorial. This data-driven approach helps you continuously improve your tutorial content and grow your audience over time.