How to Live Stream Like a Pro: Tools and Setup Guide
The Core Components of a Professional Live Stream
A professional live stream requires several components working together: a video source (camera or screen capture), an audio source (microphone), encoding software that combines and processes your sources, and a streaming platform that delivers the content to viewers. Each component affects the quality of the final stream, and understanding how they interact helps you troubleshoot problems and optimize your setup for the best viewer experience.
The encoding software is the central hub of your streaming setup. It takes video and audio inputs, composites them into a single output, encodes the result in a format suitable for streaming, and sends it to your chosen platform via RTMP (Real-Time Messaging Protocol). The two most popular encoding applications are OBS Studio (free) and Streamlabs Desktop (free with paid add-ons). Both support multiple video sources, scene switching, overlays, and integration with major streaming platforms.
Setting Up OBS Studio for Professional Streaming
OBS Studio is the most widely used streaming software, and for good reason. It is free, open-source, and capable enough for professional broadcasters. After installing OBS, the first step is configuring your output settings. Go to Settings, then Output.
The encoder selection significantly impacts both stream quality and system performance. NVENC (NVIDIA hardware encoding) offloads encoding from your CPU to your GPU, which is beneficial for gaming streams where the CPU is under heavy load. x264 (CPU encoding) produces slightly better quality at the same bitrate but uses more CPU resources. On Mac, the Apple VT H264 encoder provides efficient hardware encoding with good quality. Choose the encoder that leaves enough system resources for your primary activity (gaming, presenting, or performing).
Next, configure your video settings. Set the base and output resolution to 1920x1080 for HD streaming. If your upload bandwidth is limited, consider streaming at 1280x720, which requires roughly half the bitrate of 1080p. Set the frame rate to 30fps for most content (talk shows, presentations, tutorials) or 60fps for gaming and fast-action content. In the Audio tab, set your sample rate to 48kHz and channels to stereo.
Building Scenes and Sources
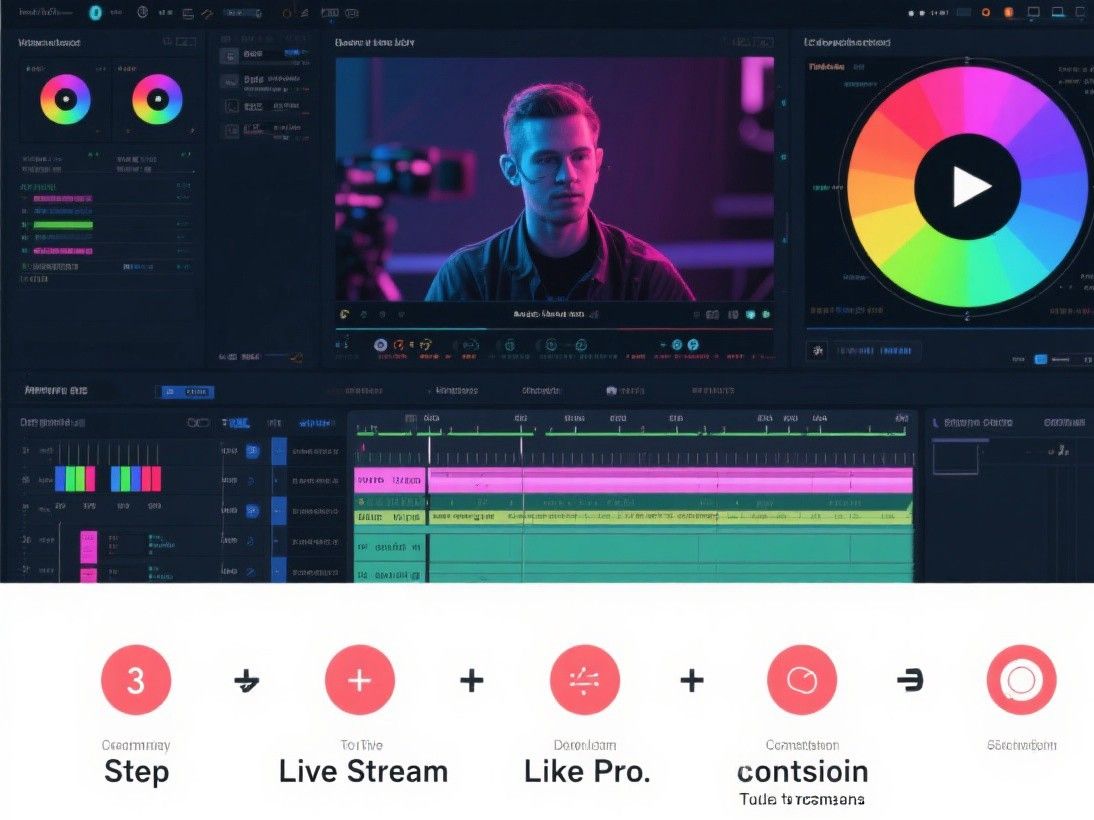
OBS organizes your stream into scenes, which are pre-configured layouts of sources. A typical setup includes three to five scenes: a starting screen (with a "stream starting soon" graphic), a main scene (with your camera and any screen share or gameplay), a BRB (be right back) scene, and an ending scene. Each scene contains sources like camera captures, window captures, display captures, text overlays, images, and audio inputs.
Add your webcam as a video capture device source. Right-click the source to access properties like resolution, cropping, and transformation (you can resize, rotate, and position the camera feed within the scene). Add a display capture or window capture source for screen sharing. For presentations, a window capture of your slide deck provides a cleaner result than capturing the entire display. Add audio sources for your microphone and, if applicable, your desktop audio or game audio.
Overlays add a professional touch to your stream. Common overlays include a frame or border around your camera feed, a lower-third graphic with your name and social handles, a ticker showing recent donations or chat messages, and a branded background. You can create overlays in any image editor (Photoshop, Canva, GIMP) and add them as image sources in OBS. Position overlays using the transform controls, and set their render order by arranging them in the source list (sources at the top render in front of sources below them).
Audio Configuration for Clear Sound
Audio quality is often the weakest link in live streams. Use a dedicated USB or XLR microphone rather than your laptop's built-in mic. A cardioid pattern microphone (like the Audio-Technica AT2020 or Blue Yeti) picks up sound from the front while rejecting noise from the sides and back, which reduces background noise in your stream. Position the microphone 6-8 inches from your mouth and slightly off to the side to avoid plosive sounds (the popping sound on "p" and "b" consonants).
In OBS, open the Audio Mixer panel to configure your audio sources. Set your microphone level so that your normal speaking voice peaks around -12dB to -6dB. Use the noise gate filter to mute the microphone when you are not speaking, which eliminates background noise during silent moments. Add a compressor filter to even out your volume levels, preventing loud moments from clipping and quiet moments from being inaudible. The compressor settings that work well for most voices are: ratio 3:1, threshold -20dB, attack 5ms, release 100ms.
Monitor your audio using headphones rather than speakers. Speakers create a feedback loop where the microphone picks up the speaker output, causing echo and distortion. Headphones let you hear your stream audio (including alerts, music, and other sources) without the microphone picking it up. OBS includes a "Monitor and Output" option for audio sources that lets you hear the source in your headphones while also including it in the stream.
Going Live and Monitoring Your Stream
Before going live, test your setup by recording a short local recording in OBS. Check the video quality, audio levels, and scene transitions. Then do a test stream to a private channel or YouTube's "test stream" feature to verify that the output looks correct after passing through the platform's encoding pipeline. Check your stream latency by having a friend watch and report the delay between your actions and what they see.
When you are ready to go live, click "Start Streaming" in OBS. Monitor your stream health using the Stats panel in OBS (View menu, then Stats). This panel shows your frame rate, bitrate, dropped frames, and encoding quality. Dropped frames indicate network issues and should stay below 1%. If you see significant frame drops, reduce your bitrate or check your network connection. During the stream, use the scene switcher to transition between your pre-built scenes, and interact with your audience through the chat on your streaming platform.
Multi-Platform Streaming
Streaming to multiple platforms simultaneously (restreaming) maximizes your audience reach by broadcasting to YouTube, Twitch, Facebook, and LinkedIn at the same time.
Restream.io is the most popular restreaming service, supporting over 30 platforms including YouTube, Twitch, Facebook, LinkedIn, Twitter, and custom RTMP destinations. The free tier allows streaming to two platforms simultaneously with Restream branding. Paid plans ($16 per month) remove branding, add more platforms, and include a web-based studio that provides chat aggregation from all platforms in a single window. StreamYard offers a browser-based streaming studio with similar multi-platform capabilities, plus features like guest hosting, screen sharing, and on-screen graphics that are controlled through a simple web interface.