How to Use CapCut for TikTok and Reels Editing

Getting Started With CapCut
CapCut has rapidly become the most popular video editor for short-form content creators. Available as a mobile app, desktop application, and browser-based tool, it offers a streamlined workflow specifically designed for TikTok, Instagram Reels, and YouTube Shorts. The desktop version provides more screen real estate and precise timeline control, while the mobile app excels at quick edits on the go. This guide focuses on the desktop version but most concepts apply across all platforms.
After downloading CapCut from the official website, launch the application and create a new project. The startup screen presents a clean interface with a media library on the left, a preview window in the center, and a timeline at the bottom. Import your footage by clicking the Import button or dragging files directly into the media bin. CapCut supports MP4, MOV, AVI, MKV, and most phone video formats without requiring conversion.
Understanding the CapCut Interface
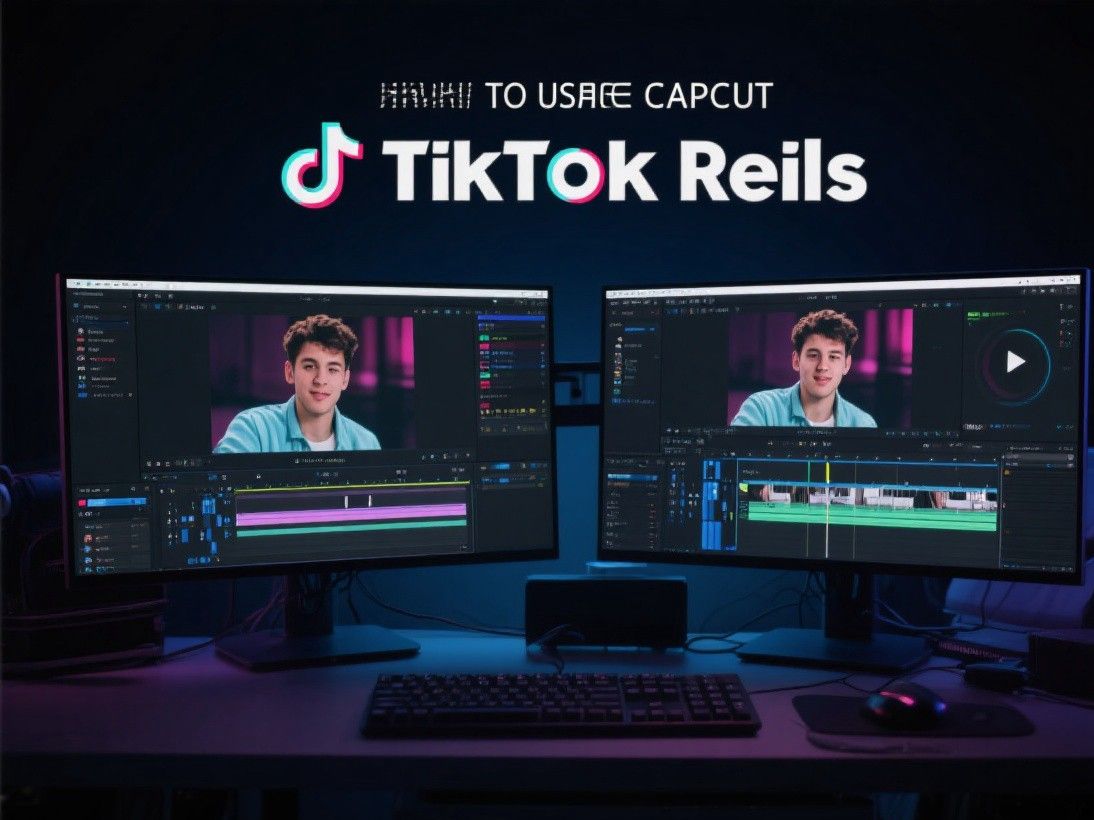
The CapCut workspace is divided into four main areas. The top menu bar contains project settings, undo/redo, and export controls. The left panel holds your imported media, audio, text templates, transitions, effects, and stickers. The center preview window shows your current frame and plays back your edit in real time. The bottom timeline displays your video and audio tracks with a zoomable ruler for precise editing.
Drag a clip from the media bin onto the timeline to begin editing. You can add multiple clips sequentially or layer them on separate tracks for picture-in-picture effects. The timeline supports unlimited tracks, which means you can stack video overlays, text elements, and audio files without running out of layers. Use the scroll wheel on your mouse to zoom in and out of the timeline for frame-accurate cuts.
Basic Editing: Cutting, Trimming, and Rearranging Clips
The most fundamental editing operations in CapCut are cutting and trimming. Position the playhead where you want to make a cut and press Ctrl+B (or Cmd+B on Mac) to split the clip. You can then delete unwanted sections or rearrange segments by dragging them to new positions on the timeline. To trim the start or end of a clip, click and drag its edges inward.
CapCut also offers a split-by-scene feature that automatically detects scene changes in your footage and creates cuts at each transition point. This is useful when working with long continuous recordings that need to be broken into individual segments. For faster editing, use the razor tool (shortcut: B) to click directly on the timeline where you want cuts, then switch back to the selection tool (shortcut: V) to move segments around.
Adding Transitions and Effects

Transitions connect two clips smoothly and add visual polish to your edit. CapCut includes over 100 transitions organized by category: basic, slide, fade, glitch, zoom, and more. To add a transition, click the space between two clips on the timeline. A transition panel appears with a preview of each option. Click to apply, then adjust the duration using the slider. Most transitions work best at 0.3 to 0.5 seconds for short-form content.
Effects in CapCut go beyond simple filters. The effects library includes body effects (which track a person's movement), video effects like blur, shake, and glitch overlays, and trendy effects that mirror popular TikTok styles. Apply effects by dragging them onto a clip in the timeline. You can adjust intensity and duration in the effect settings panel. Layer multiple effects on a single clip for unique looks, but avoid overdoing it as too many effects can distract from your content.
Working With Text and Captions
Text overlays are essential for TikTok and Reels because many viewers watch without sound. CapCut offers several ways to add text. The Text tab provides pre-designed templates with animations, or you can create custom text with full control over font, size, color, and position. For captions, use the Auto Captions feature under the Text menu. CapCut analyzes the audio track and generates synchronized subtitles that you can edit for accuracy.
Customize caption appearance by changing the font style, adding background boxes, adjusting text position, and setting animation presets like typewriter or fade-in effects. CapCut also supports bilingual captions, allowing you to display two languages simultaneously. This is particularly useful for reaching international audiences on TikTok.
Audio Editing and Music Integration
CapCut includes a built-in music library with thousands of royalty-free tracks organized by mood, genre, and trending popularity. Access it from the Audio tab and preview tracks before adding them to your timeline. You can also import your own audio files or extract audio from video clips. The audio editor provides volume control, fade in/out, and a basic equalizer.
One of CapCut's standout audio features is auto beat sync. When you add a music track, CapCut can automatically cut your video clips to match the beat of the song. This creates a dynamic, rhythmic edit that aligns perfectly with the music. You can adjust the sensitivity of the beat detection and manually fine-tune individual cuts. Additionally, CapCut offers voice effects like pitch shift, echo, and robot voice that are popular in TikTok content.
Exporting for Different Platforms
When your edit is complete, click the Export button in the top-right corner. CapCut provides preset export profiles for TikTok (1080x1920, 30fps), Instagram Reels (1080x1920, 30fps), and YouTube Shorts (1080x1920, 60fps). You can also create custom presets with specific resolution, frame rate, and bitrate settings. The export process uses hardware acceleration when available, so rendering times are typically fast even for 4K projects.
Before exporting, preview your entire video at full resolution to check for any issues. Pay attention to text placement, ensuring captions do not overlap with platform UI elements like TikTok's username and caption area. Once exported, CapCut can share directly to TikTok or save the file to your computer for manual uploading to other platforms.
CapCut Mobile vs. Desktop: Key Differences
While CapCut's mobile and desktop versions share the same core features, there are important differences that affect your editing workflow. The mobile app is optimized for touch interaction, with larger buttons and gesture-based controls. It excels at quick edits on the go and integrates directly with your phone's camera roll for instant importing. The desktop version provides a larger timeline view, more precise editing controls, keyboard shortcuts, and support for higher resolution exports including 4K.
The effects and templates libraries are mostly identical between platforms, but the desktop version handles complex projects with many layers more smoothly due to its access to more system resources. If you are editing a simple 30-second TikTok video, the mobile app is sufficient. For longer content with multiple layers of effects, text, and audio, the desktop version provides a better editing experience. CapCut also offers a browser-based version at capcut.com that works on any device with a modern web browser, providing a middle ground between the mobile and desktop applications.