How to Add Music and Sound Effects to Your Videos

The Role of Audio in Video Production
Audio accounts for roughly 50% of the viewer experience, yet many video creators focus almost entirely on visuals. Background music sets the emotional tone of your video, sound effects add impact to transitions and actions, and well-balanced audio mixing keeps viewers engaged. A video with great visuals but poor audio feels amateur, while a video with decent visuals and excellent audio feels professional. Understanding how to select, edit, and mix audio elements is one of the most impactful skills you can develop as a video creator.
The legal aspect of using music in videos is equally important. Using copyrighted music without a license can result in your video being muted, blocked, or removed from platforms like YouTube and Instagram. Always use royalty-free music or properly licensed tracks. Royalty-free does not mean free of cost; it means you pay once (or sometimes nothing) for a license that allows you to use the music in your videos without ongoing royalties. Several libraries and platforms provide high-quality royalty-free music at reasonable prices or for free.
Finding Royalty-Free Music
YouTube Audio Library is the most accessible source of free royalty-free music. Accessible through YouTube Studio, it offers hundreds of tracks organized by genre, mood, instrument, and duration. All tracks in the library are cleared for use on YouTube and most other platforms. The library also includes sound effects. The main limitation is that the selection, while decent, is smaller than paid libraries and some tracks have been used extensively by other creators.
Epidemic Sound is a subscription-based music library popular with YouTubers and content creators. For $15 per month (individual plan), you get unlimited access to over 40,000 tracks and 90,000 sound effects. The library is curated specifically for video content, with tracks organized by mood, genre, and use case (intro, background, transition, outro). Epidemic Sound's license covers all major platforms including YouTube, Instagram, TikTok, and podcasts. If you stop your subscription, videos published during your active subscription remain licensed.
Artlist is another subscription library that provides unlimited music and sound effects for $16.50 per month. Artlist is known for its high-quality curation, with tracks from independent artists and composers. The license is perpetual for videos published during your subscription period. Both Artlist and Epidemic Sound offer free trials that let you download a limited number of tracks to evaluate the library before committing.
Adding and Editing Music in Your Video Editor
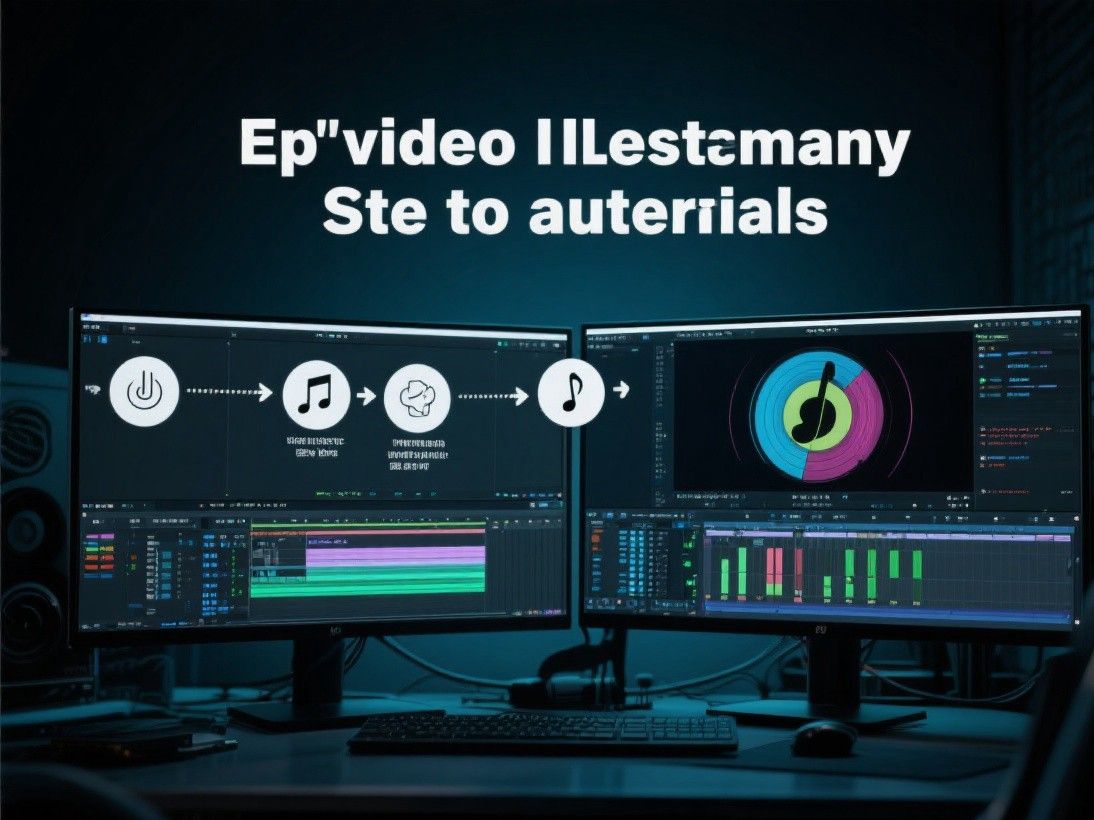
Most video editors handle music through a dedicated audio track on the timeline. Import your music file and drag it onto an audio track below your video. Position the music to start at the desired point, typically at the beginning of the video or after a brief intro. Adjust the music volume to sit below the dialogue level. A common starting point is -15dB to -20dB for background music when someone is speaking, and -6dB to -10dB for music-only sections.
Use fade-in and fade-out effects at the beginning and end of music tracks to avoid abrupt starts and stops. Most editors provide one-click fade effects, or you can manually draw volume envelopes on the audio track. When cutting music to fit your video's length, try to cut at natural phrase boundaries rather than mid-beat. Most music follows a 4-beat or 8-beat structure, so cuts that align with these boundaries sound natural. Listen to the music a few times before cutting to identify the best edit points.
If your video has dialogue, use ducking (also called sidechain compression) to automatically lower the music volume when someone speaks. Many editors including DaVinci Resolve and Premiere Pro include ducking features. In DaVinci Resolve, the Fairlight page provides a ducking compressor that reduces the music track's volume based on the dialogue track's level. This creates a professional-sounding mix where the music supports the dialogue without competing with it.
Working With Sound Effects

Sound effects add depth and polish to your videos. Transition whooshes emphasize cuts between scenes, impact sounds punctuate title reveals, ambient sounds create atmosphere, and UI sounds (clicks, pops, beeps) enhance screen recordings and tutorials. The key to using sound effects effectively is subtlety. Effects should be felt rather than consciously noticed by the viewer.
Layer sound effects at specific points on your timeline. A common technique is to add a subtle whoosh or swoosh sound at every major transition. For title animations, add a short impact or riser sound that builds energy before the title appears. For tutorial videos, add click sounds when showing button presses and notification sounds for email or message alerts. These small audio details make videos feel more professional and engaging.
Sound effect libraries include Freesound.org (free, community-contributed sounds with Creative Commons licenses), Epidemic Sound's SFX library (included with the subscription), and Splice Sounds (a la carte purchases starting at $0.99 per sound). When downloading sound effects, pay attention to the license terms. Some Creative Commons licenses require attribution, while others allow unrestricted use. Always verify the license before using a sound effect in a published video.
Audio Mixing Fundamentals
A well-mixed video has clear dialogue, supportive background music, and appropriate sound effects at balanced levels. Start by setting your dialogue as the reference level at around -12dB to -6dB. Then mix the music and effects relative to the dialogue. Use an audio meter (available in all editing software) to monitor levels and ensure nothing clips (exceeds 0dB). Apply a limiter to your master output to prevent clipping while maintaining loudness.
Equalization (EQ) can improve clarity by reducing frequencies that conflict between tracks. If the music is competing with dialogue, apply a high-pass filter to the music at 200-300Hz to reduce bass buildup, and reduce the music's mid-range (1-4kHz) where the human voice is most prominent. These adjustments help the dialogue cut through the mix without requiring you to lower the music volume to an inaudible level. Most editors include built-in EQ tools, or you can use free plugins like TDR Nova for more precise control.
Legal Considerations for Music in Videos
Understanding music licensing prevents costly legal issues and platform penalties. There are several types of music licenses relevant to video creators. Royalty-free licenses allow you to pay once and use the music indefinitely in your videos.
YouTube's Content ID system automatically detects copyrighted music in uploaded videos. If your video contains unlicensed music, YouTube may mute the audio, place ads on your video (with revenue going to the copyright holder), or remove the video entirely. Other platforms have similar detection systems. To avoid these issues, always verify the license terms of any music you use, keep records of your licenses, and use royalty-free or Creative Commons music from reputable libraries. If you receive a copyright claim, review it carefully, as false claims do occur and can be disputed through the platform's appeal process.