How to Create Explainer Videos With Animaker
What Makes Animaker Different From Other Video Tools
Animaker is a cloud-based animation platform designed for creating 2D animated explainer videos without any animation skills. Unlike general-purpose video editors, Animaker provides a library of pre-built characters, props, backgrounds, and animations that you can combine through a drag-and-drop interface. The platform supports multiple animation styles including 2D cartoon, whiteboard, infographic, and typography-based videos, giving you flexibility in how you present your message.
The core idea behind Animaker is that you should not need to draw or animate anything from scratch. Instead, you choose from thousands of pre-made assets, arrange them on a virtual stage, and define simple motion paths. The platform handles the actual animation rendering. This approach makes it possible for marketers, educators, and entrepreneurs to produce animated content that would traditionally require hiring an animation studio.
Setting Up Your First Animaker Project
Create a free account on the Animaker website and click "Create" to start a new project. Animaker offers two starting points: starting from a blank canvas or choosing a pre-built template. Templates are organized by category such as business, education, marketing, HR, and product demo. Each template includes a complete video structure with scenes, transitions, text, and animations already in place. You can customize any template by replacing text, swapping characters, and modifying the color scheme.
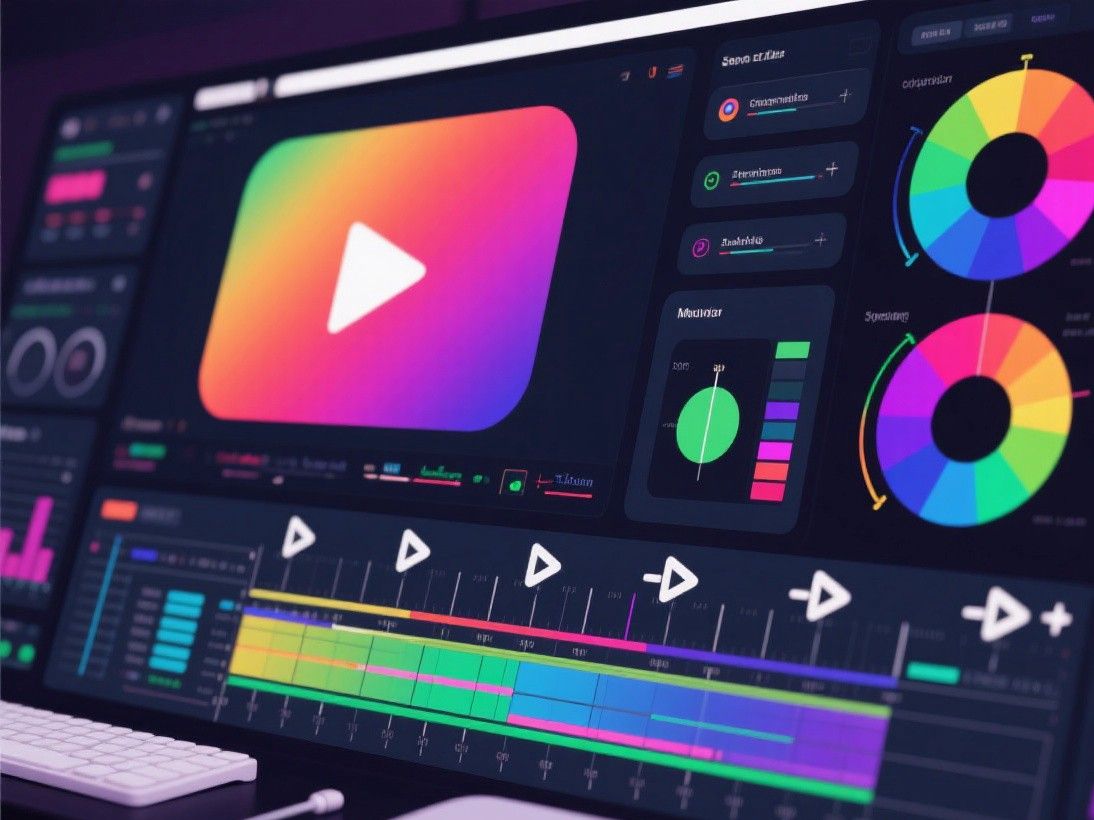
For your first project, starting with a template is recommended because it demonstrates how Animaker structures scenes and animations. Once you understand the workflow, creating from a blank canvas becomes straightforward. The workspace consists of a stage area where you arrange visual elements, a timeline at the bottom that controls timing and sequencing, and a sidebar with asset libraries organized by type: characters, props, backgrounds, text, music, and effects.
Working With Characters and Animations
Animaker's character library is one of its strongest features. The platform offers hundreds of characters in different styles: realistic, cartoon, anime, and stick figure. Each character comes with a set of pre-defined animations including walking, talking, thinking, celebrating, and presenting. To add a character to your scene, drag it from the library onto the stage. To animate it, select an animation preset from the character's properties panel.
You can customize characters by changing their clothing, facial expressions, hair, and accessories. Some character types support multi-action sequences where you can chain multiple animations together. For example, a character can walk onto the stage, stop, gesture toward a prop, and then deliver a line of dialogue. The lip-sync feature automatically animates the character's mouth movements to match recorded or uploaded audio, which adds a professional touch to dialogue-heavy scenes.
Props work similarly to characters but without animation presets. You can add objects like laptops, phones, charts, buildings, and vehicles to your scenes. Animaker includes a "create your own character" feature that lets you design custom avatars by selecting facial features, body types, and clothing options. This is useful for creating branded characters that represent your company or match your visual identity.
Building Scenes With the Timeline
Each Animaker project is divided into scenes, similar to slides in a presentation. The timeline at the bottom of the workspace shows all scenes in sequence with their durations. You can add, remove, and reorder scenes by dragging them on the timeline. Within each scene, you control when each element appears, how long it stays, and what animation it performs using the object-level timeline.
Transitions between scenes are handled through the transition panel. Animaker offers fade, slide, zoom, and wipe transitions with adjustable duration. For explainer videos, simple fade transitions of 0.5 seconds work well because they do not distract from the content. The voiceover feature lets you record narration directly within Animaker or upload pre-recorded audio files. The platform automatically adjusts scene durations to match the length of your voiceover, which saves significant time during the editing process.
Text elements in Animaker support multiple animation styles including typewriter, fade-in, bounce, and kinetic typography. You can create text-based scenes that animate words and phrases in sync with your voiceover, which is effective for highlighting key statistics or summarizing complex information. The text editor includes a variety of fonts, and you can upload custom fonts if your brand uses specific typography.
Adding Audio and Exporting
Animaker includes a built-in music library with royalty-free tracks categorized by mood and genre. You can also upload your own music and sound effects. The audio editor provides basic controls for volume, fade in/out, and trimming. For voiceovers, Animaker supports both text-to-speech (which generates narration from typed text) and manual recording through your microphone.
When your explainer video is complete, click the Publish button to export. Animaker offers several export options: download as MP4 in 720p or 1080p, share directly to YouTube or Facebook, or generate a shareable link. The free plan includes a watermark and limits exports to 720p resolution. Paid plans remove the watermark, enable 1080p and 4K exports, and provide additional features like custom fonts, premium templates, and priority rendering. Export times depend on video length and complexity, but most explainer videos under 3 minutes render within a few minutes.
Animaker vs. Other Explainer Video Tools
Animaker competes with several other explainer video platforms, each with different strengths. Powtoon focuses on business presentations and offers a slide-based workflow that feels familiar to PowerPoint users. Biteable prioritizes speed with pre-animated scenes that require minimal customization. Doodly specializes in whiteboard animation style, where a hand draws illustrations on screen in real time. Animaker differentiates itself through its character library and lip-sync feature, which are more advanced than what competitors offer.
The pricing comparison also matters for budget-conscious creators. Animaker's free plan includes basic features with watermarked exports and limited downloads. The Basic plan at $10 per month removes the watermark and increases download limits. The Pro plan at $19 per month adds premium features including HD exports, custom fonts, and the full character library. Compared to Powtoon's $19 per month starting price and Biteable's $49 per month, Animaker offers competitive value, particularly for creators who need character animation and voiceover features.