Photo Collage Makers: Create Beautiful Photo Compositions
Creating a Complete Logo Project in Gravit Designer
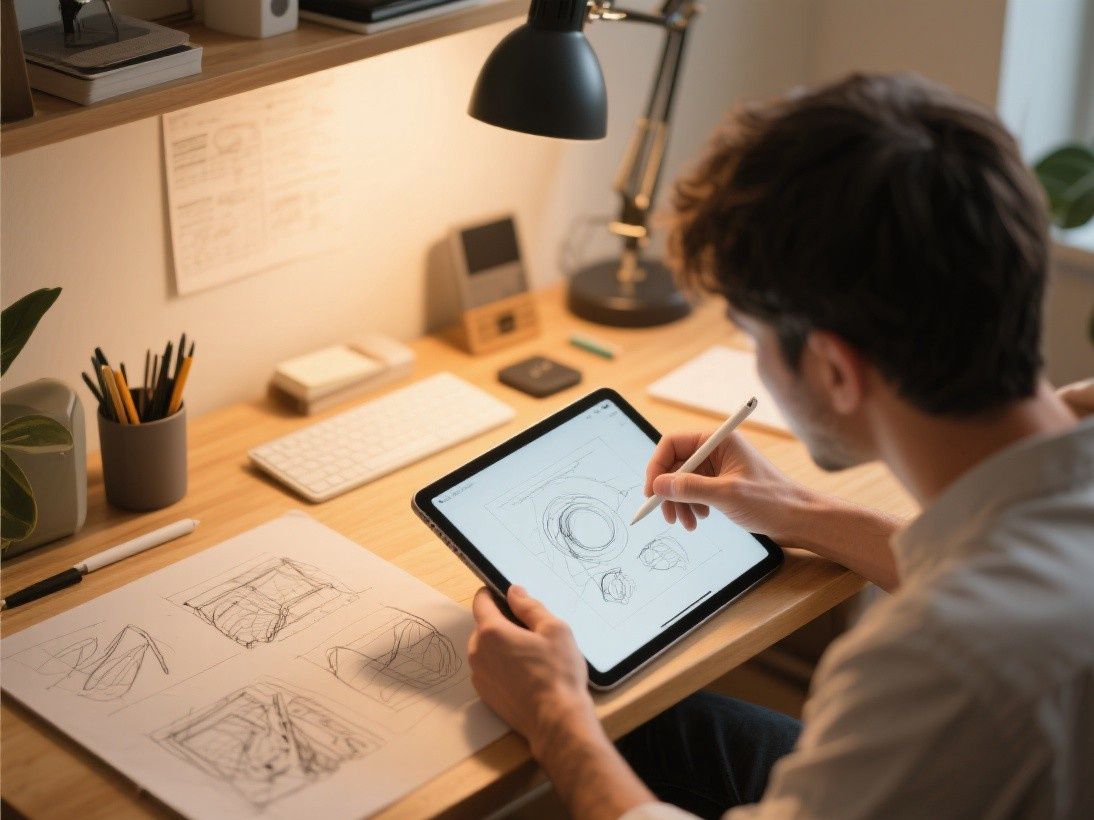
A practical way to learn Gravit Designer is to create a logo from start to finish. Start by sketching your concept on paper—three to five rough ideas for the logo shape, icon, or symbol. Choose the strongest concept and recreate it in Gravit Designer using basic shapes and the Pen tool.
Build the logo in black and white first. Color can mask design weaknesses—a logo that looks good in color may fall apart in black and white. Use only fills (no strokes) to create the logo shapes. Strokes can cause scaling issues when the logo is used at different sizes. If the logo looks balanced and recognizable in black and white, it will work in any color scheme.
After finalizing the black-and-white version, create color variations. Apply your brand colors using the fill tool. Create a reversed version (white logo on a dark background) and a single-color version (for embossing, engraving, or fax). Export each variation as SVG and PNG. Test the logo at different sizes—16px favicon, 32px toolbar icon, 200px website header, and 1000px print—to verify that it remains clear and recognizable at every scale.
Gravit Designer's alignment and distribution tools help you achieve pixel-perfect logo construction. Select multiple elements and use the alignment buttons in the top toolbar to center them horizontally and vertically. Use the distribution buttons to space elements evenly. Enable the grid (View > Show Grid) and snap to grid for precise positioning. These tools ensure your logo is mathematically balanced, which contributes to its visual appeal.
What Gravit Designer Offers
Gravit Designer (now part of the Corel suite and available at designer.gravit.io) is a free vector graphics editor that runs in the browser and as a desktop application for Windows, macOS, Linux, and Chrome OS. It provides a professional-grade tool set for creating logos, illustrations, icons, UI elements, and print layouts. The interface is clean and modern, with a learning curve that sits between Canva's simplicity and Illustrator's complexity.
Interface and Workspace Setup
When you open Gravit Designer, the workspace displays a canvas in the center, a toolbar on the left, a properties panel on the right, and a layers panel at the bottom. The toolbar contains shape tools (Rectangle, Ellipse, Line, Polygon, Star), the Pen tool for custom paths, the Text tool, and selection tools. The properties panel changes based on what you have selected, showing fill, stroke, opacity, blend mode, and transform options.
Set up your canvas by clicking "File > Page" and choosing a preset size or entering custom dimensions. For web graphics, use pixels as the unit. For print, use millimeters or inches with a bleed area. Gravit Designer supports multiple artboards (pages), so you can work on several designs in a single file.
The layers panel works like other vector editors: each shape, path, or text element is a separate layer that can be reordered, locked, hidden, and grouped. Use groups (Ctrl+G or Cmd+G) to organize related elements. For complex illustrations with many elements, name your layers and groups descriptively—this makes navigation much easier as the file grows.
Drawing With the Pen Tool
The Pen tool is the foundation of vector illustration in Gravit Designer. Click to create straight-line anchor points, click and drag to create curved anchor points with bezier handles. The tool supports corner points (handles move independently), smooth points (handles move together), and symmetric points (handles are equal length). Switch between point types by holding Alt (Option on Mac) while clicking an anchor point.
For tracing existing images, place the reference image on the canvas (File > Import), lower its opacity in the layers panel, and draw over it with the Pen tool. This technique works well for creating vector versions of logos, icons, or illustrations from raster references. After tracing, delete the reference image layer.
Gravit Designer's Pen tool also supports the "Subselect" tool (the white arrow in the toolbar), which lets you select and manipulate individual anchor points and bezier handles. Double-click a path with the Subselect tool to see all its anchor points, then drag points to reshape the path or adjust handles to change curve shapes.
Working With Shapes and Boolean Operations
Boolean operations combine shapes to create complex forms. Gravit Designer supports four Boolean operations: Union (merge two shapes into one), Subtract (cut the top shape from the bottom shape), Intersect (keep only the overlapping area), and Exclude (remove the overlapping area). These operations are available in the "Path" menu and as buttons in the toolbar when two or more shapes are selected.
Boolean operations are the key to creating complex illustrations from simple shapes. A cloud shape, for example, can be created by unioning several overlapping circles. A gear shape can be created by subtracting small circles from a larger circle. A chat bubble can be created by unioning a rounded rectangle with a small triangle. Practice combining basic shapes with Boolean operations and you will be able to create virtually any form without drawing freehand.
Color, Gradients, and Effects
Gravit Designer's color tools support solid fills, linear gradients, radial gradients, and mesh gradients. For linear gradients, click and drag on the canvas to set the gradient direction. For radial gradients, the center point and radius are adjustable. Each gradient stop can be set to any color with adjustable opacity, which allows for smooth transitions between colors including transparent-to-opaque effects.
The effects panel includes drop shadow, inner shadow, blur, and opacity. Each effect has configurable parameters: shadow offset, blur radius, spread, and color. Effects are non-destructive, meaning they can be adjusted or removed at any time without affecting the underlying vector paths. This is a significant advantage over raster effects, which permanently alter the image data.
Typography and Text Effects
Gravit Designer's text tool supports paragraph text (click and drag to create a text box) and point text (click to place text at a specific point). The typography controls include font family, font size, line height, letter spacing, text alignment, and text on path. Text on path is particularly useful for logos and decorative typography—create a path with the Pen tool, select both the path and the text, and choose "Text > Text on Path" to wrap the text along the curve.
Exporting Your Work
Gravit Designer exports to SVG, PDF, PNG, and JPG formats. For web use, SVG is the preferred format because it scales without quality loss and can be styled with CSS. For print, use PDF with CMYK color mode (selectable in the export dialog). For raster output, PNG supports transparency while JPG does not. Set the export resolution to 2x or 3x for retina-quality raster exports.
The SVG export from Gravit Designer is clean and well-structured, using standard SVG elements without proprietary attributes. This makes the exported SVGs compatible with web browsers, design tools, and cutting machines (Cricut, Silhouette). If you need to further optimize the SVG file size, run it through SVGO (svgo.dev) after export.