Best Video Stabilization Tools for Shaky Footage
Understanding Video Stabilization
Shaky footage results from unintended camera movement during recording. Walking while filming, holding a camera at arm's length, shooting from a moving vehicle, or using a lightweight camera without proper support all produce unwanted motion. Video stabilization software analyzes each frame of your footage, detects the intended camera movement, and applies counter-movements to produce smooth, stable output.
There are two main approaches to stabilization. Optical stabilization uses hardware (lens elements or sensor shifts) built into the camera to compensate for movement during recording. Digital stabilization is applied in post-production using software algorithms. This guide focuses on digital stabilization tools, which work with footage that has already been recorded regardless of whether the camera had optical stabilization.
All digital stabilization involves some level of cropping because the algorithm needs to shift the frame to compensate for movement. The more stabilization required, the more the frame must be cropped, which reduces resolution and may introduce a slight zoom effect. The best stabilization tools minimize this crop while producing natural-looking results that do not suffer from wobble artifacts (the jello-like distortion that occurs when stabilization algorithms overcorrect).
DaVinci Resolve Stabilizer

DaVinci Resolve includes a sophisticated stabilization tool in both its free and paid versions. Located in the Inspector panel under the Stabilizer tab, it offers two modes: Stabilizer and Camera Lock. The Stabilizer mode smooths out unwanted movement while preserving intentional camera motion like pans and tilts. Camera Lock mode attempts to completely lock the frame in position, which works well for static shots where the camera was accidentally moving.
The Stabilizer mode provides adjustable parameters including smoothness (how aggressively the tool dampens movement), crop ratio (how much of the frame is cropped to achieve stabilization), and strength (the overall intensity of the effect). The analysis process scans the footage to track motion vectors between frames, which typically takes a few minutes depending on clip length. After analysis, you can adjust the parameters and see a real-time preview of the stabilized result.
DaVinci Resolve's stabilizer is particularly effective because it operates on the GPU, making both analysis and playback fast on systems with dedicated graphics cards. The tool also includes a perspective stabilization option that corrects for rolling shutter distortion, which is common in footage from smartphone cameras and action cameras. For professional results, DaVinci Resolve's stabilizer matches or exceeds dedicated stabilization plugins in most scenarios.
Adobe Premiere Pro Warp Stabilizer
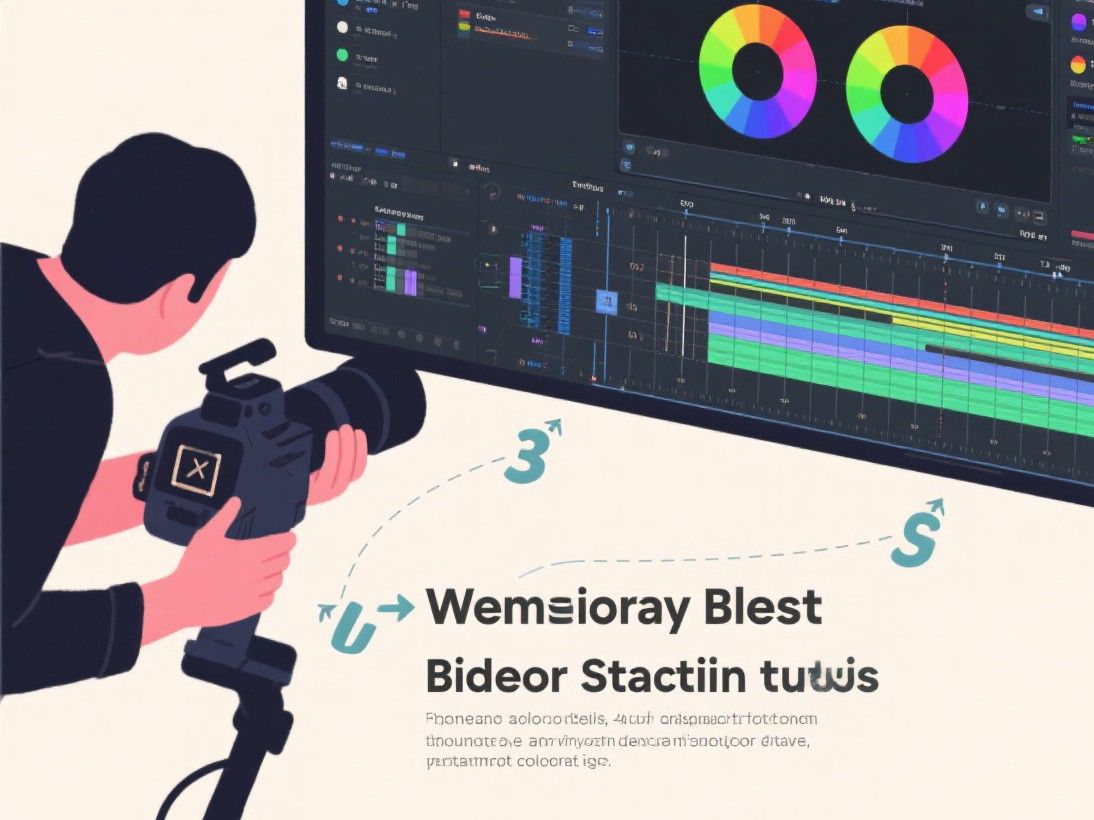
Adobe Premiere Pro's Warp Stabilizer effect is one of the most well-known stabilization tools in video editing. Applied as an effect to any clip on the timeline, Warp Stabilizer analyzes the footage and automatically applies stabilization. The default settings work well for moderate shake, and the tool provides advanced parameters for fine-tuning.
The key parameters in Warp Stabilizer include Result (Smoothness versus No Motion), Smoothness amount, Method (Position, Position+Scale, Position+Scale+Rotation, or Subspace Warp), and Framing (Stabilize Only, Stabilize and Crop, or Stabilize and Synthesize Edges). The Subspace Warp method is the most advanced, warping parts of the frame to compensate for complex motion. The Synthesize Edges option fills in the cropped areas with generated content, reducing the visible crop.
Warp Stabilizer's main limitation is processing speed. The analysis phase can be slow for long clips, especially in 4K resolution. Premiere Pro caches the analysis results, so subsequent adjustments are faster. The tool also sometimes produces a "jello" wobble effect on footage with rapid movement or rolling shutter artifacts. Reducing the smoothness parameter or switching to a simpler method (Position instead of Subspace Warp) often resolves this issue.
Shutter Encoder: Free Standalone Stabilization
Shutter Encoder is a free, open-source video processing tool for Windows and Mac that includes stabilization among its many features. Based on FFmpeg, it provides a graphical interface for applying stabilization without needing a full video editing suite. Load your footage, select the stabilization function, choose your output settings, and start the process.
Shutter Encoder uses FFmpeg's vidstab filter for stabilization, which provides good results for moderate shake. The tool lets you adjust smoothing strength, shake detection sensitivity, and zoom level. While it lacks the advanced options of DaVinci Resolve or Premiere Pro, Shutter Encoder is completely free, handles virtually any input format, and can process files in batch. For users who do not own a video editor but need to stabilize footage, Shutter Encoder is an excellent free option.
The workflow in Shutter Encoder is straightforward. Drag your video into the input area, choose "Stabilization" from the function panel, select your desired output format and quality, and click "Start function." Shutter Encoder processes the file and saves the stabilized version to your specified location. The tool also includes cropping, trimming, and format conversion functions, making it a versatile addition to any video creator's toolkit.
Mobile Apps for On-the-Go Stabilization
For quick stabilization without transferring footage to a computer, several mobile apps deliver solid results. Google Photos includes a built-in stabilization feature for Android users. Open a video, tap Edit, and select the Stabilize option. The app processes the video and saves a stabilized version. Apple's Photos app on iOS offers a similar feature. Both apps use on-device AI processing and produce good results for casual footage.
For more control, apps like Emulsio (iOS) and VideoStabilizer (Android) provide adjustable parameters similar to desktop tools. Emulsio offers real-time preview, smoothness adjustment, and crop control. VideoStabilizer supports multiple stabilization algorithms and batch processing. These apps are particularly useful for vloggers and social media creators who need to stabilize footage quickly and publish directly from their phone.
Tips for Getting the Best Stabilization Results
Shoot with stabilization in mind whenever possible. Use a wider angle lens or zoom out slightly to provide extra frame area for the stabilization crop. Walk with your knees slightly bent to absorb vertical movement. Hold your camera with both hands close to your body. If shooting with a smartphone, use the built-in electronic stabilization (usually called "steady" or "active" mode). These practices reduce the amount of post-production stabilization needed, which preserves more of the original resolution and produces more natural-looking results.
Preventing Shaky Footage During Recording
While post-production stabilization can fix shaky footage, preventing shake during recording produces better results with no quality loss. The most effective prevention technique is using a tripod or camera support.
If you do not have a tripod or gimbal, use your body as a stabilizer. Hold your camera with both hands, tuck your elbows into your sides, and brace your arms against your torso. This creates a more stable shooting platform than holding the camera at arm's length. When walking while filming, use the "ninja walk" technique: bend your knees slightly, keep your center of gravity low, and walk heel-to-toe to minimize vertical bounce. Lean against walls, poles, or other solid objects for additional stability. These techniques cost nothing and can significantly reduce the amount of stabilization needed in post-production.