5 Android Accessibility Features You Probably Haven't Tried (But Should)
Accessibility isn’t just for “special cases”—it’s for daily friction
You know the moment: the menu text is just a little too small, the captions are missing, and your thumb keeps hitting the wrong thing when you’re rushing. None of that feels like a “needs accessibility” situation. It just feels like your phone is being annoying.
Android’s Accessibility settings are mostly a toolbox for these everyday problems. They’re built-in, they don’t require extra apps, and many can be turned on and off in seconds. The hard part is that the menu is crowded, and if you dive in without a plan, you’ll waste time and quit.
The goal here is simple: set up a fast way to try a few high-impact features, keep what helps, and ignore the rest.
First, set up a one-tap way to try features (so you actually test them)
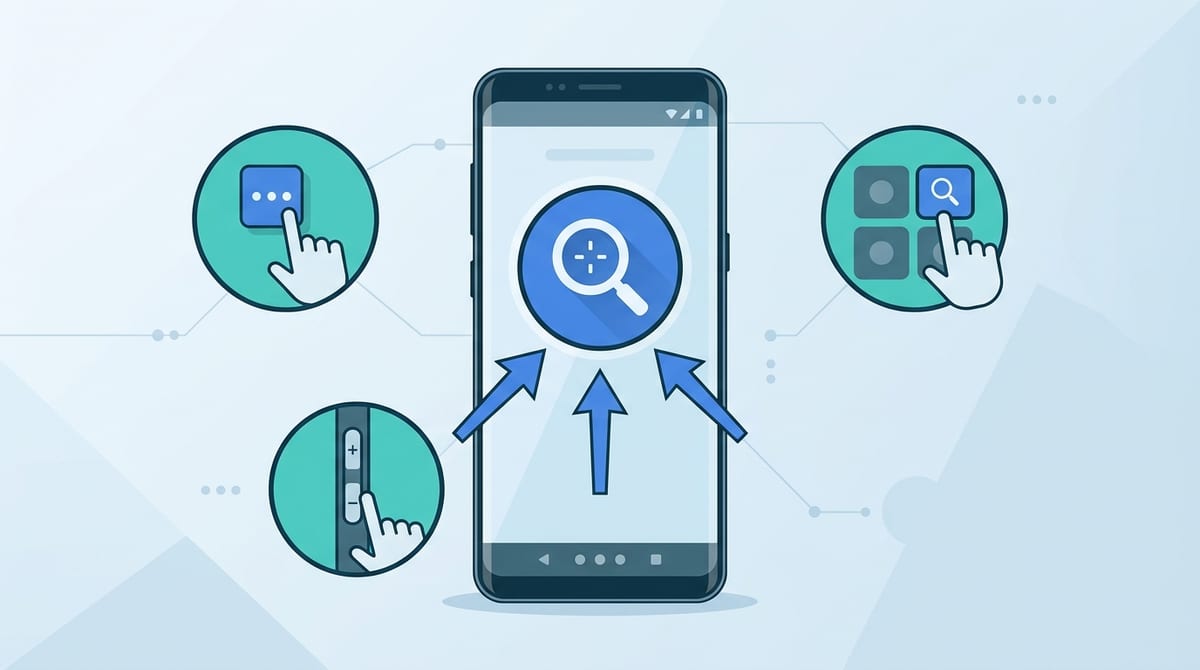
Keeping what helps only works if you can flip a feature on, try it in the moment, then flip it off without digging through a crowded menu. Most people don’t do that. They turn something on once, it feels weird in the wrong situation, and they never touch it again.
Start by setting up an Accessibility shortcut you can reach in one tap. On most Android phones, go to Settings → Accessibility and look for Accessibility button, Accessibility shortcut, or a similar option. Choose one trigger you’ll actually use: the on-screen Accessibility button, a volume-key shortcut, or the quick settings tile (if your phone offers it). Then pick just one feature to attach first—Magnification or Select to Speak are good starters—so your shortcut stays predictable.
One real-world snag: shortcuts can clash with muscle memory. A volume-key shortcut might interfere with how you normally adjust sound, and an on-screen button can get in the way in some apps. If it’s annoying after a day, change the trigger, not the idea. Once the shortcut feels natural, testing the next features gets much easier.
When the app’s text is fine… until it isn’t: Magnification
Once that shortcut feels natural, you’ll notice how often text is “fine” right up until you’re on the move—checking a tracking number in a dim hallway, reading tiny gray labels in a banking app, or trying to confirm the right date before you tap Pay. That’s when Magnification earns its spot. It doesn’t change your font size everywhere. It gives you a quick, temporary zoom for whatever’s on-screen.
Turn on Settings → Accessibility → Magnification, then use your shortcut to bring it up when you need it. Zoom in, pan around, tap what you came for, and drop back to normal. The constraint: it can feel clumsy in tight layouts. In some apps, buttons shift under your finger while you’re panning, so you may need to pause, center what you want, then tap.
If Magnification solves “just this one screen” problems, the next win is having your phone read the hard part out loud.
Don’t squint—have your phone read it: Select to Speak
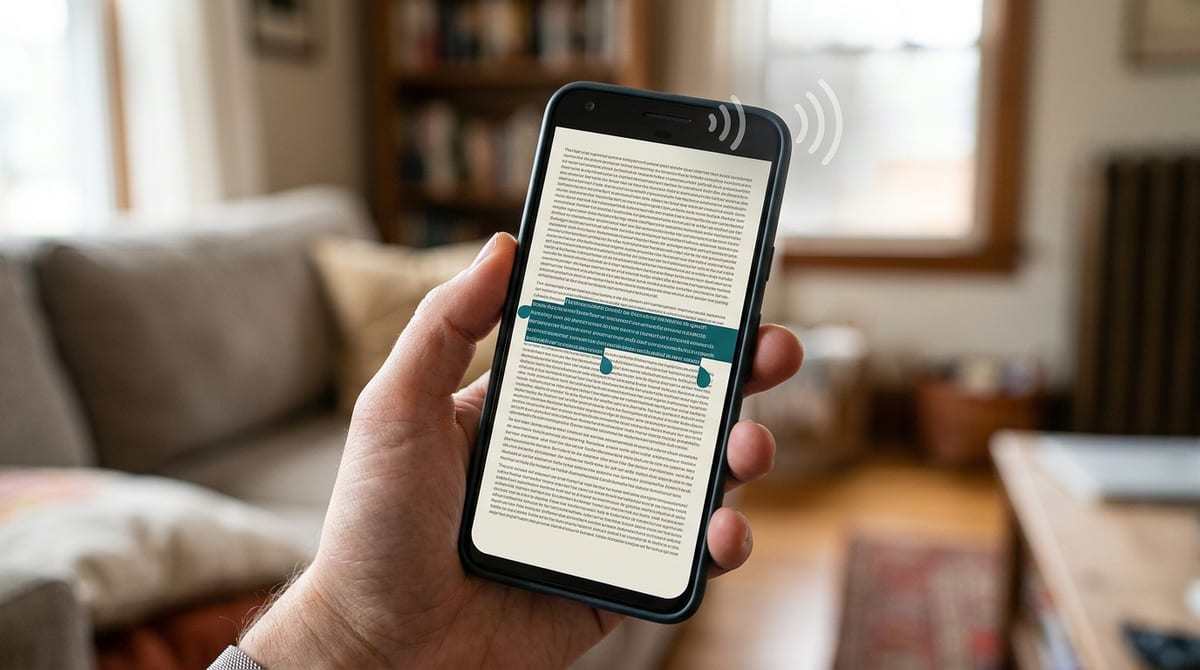
That “hard part” is often a paragraph you can’t comfortably zoom and scan—fine print, a long error message, or a product description with lots of numbers. In those moments, it’s faster to listen than to hunt line by line. Select to Speak does exactly that: you point at text on the screen, and your phone reads it out loud.
Turn it on in Settings → Accessibility → Select to Speak, then trigger it with the shortcut you set up. Tap a single block to read, or drag to select a specific section so you don’t sit through an entire screen. A real limitation: it won’t work everywhere. Some apps lock text in ways Select to Speak can’t grab, and it can clash with games or gesture-heavy screens because it needs an overlay.
Once you’re relying on audio for quick comprehension, videos are the next place where “I can’t hear this” shows up fast.
Watching videos in a noisy room? Live Caption
That “I can’t hear this” problem shows up instantly when a video is quiet and your surroundings aren’t. You’re on the bus, a kid is talking over your shoulder, or you’re in a waiting room and you can’t turn the volume up. Live Caption fixes that by generating captions for media playing on your phone, even when the video itself didn’t include them.
On many Android phones you can toggle it from the volume panel (tap the Live Caption icon), or enable it in Settings → Accessibility → Live Caption. Then play a clip and see if the captions keep up. If you watch a lot of short videos, this can be the difference between “skip it” and “got it.”
The catch is it isn’t free. Live Caption can add a small delay, struggle with heavy accents or overlapping voices, and it can miss words when audio is messy. Once you’ve tried it in your usual spots, the next comfort win is making the screen easier on your eyes at night.
Bright screen at night: Extra Dim (why it’s different from lowering brightness)
That “easier on your eyes at night” moment usually hits when your brightness is already low, but the screen still looks harsh in a dark bedroom or on a red-eye flight. You drop the slider to the bottom…and it’s somehow still too much. That’s where Extra Dim helps, because it reduces the screen’s output beyond what the normal brightness range allows.
Find it at Settings → Accessibility → Extra dim, then attach it to a Quick Settings tile or your Accessibility shortcut so it’s a two-second toggle. Try it with the same apps that feel blinding at night: white-background email, maps, or a shopping page. One real downside: Extra Dim can make photos and videos look muddy, and it can make it harder to judge subtle colors (like a “disabled” gray button versus an active one). If you only need it sometimes, keep it as a toggle, not a permanent setting.
Once the screen stops shouting in the dark, the next annoyance to clean up is when your phone registers taps you didn’t mean to make.
Accidental taps and long-presses: Timing controls
That usually happens when you’re using your phone one-handed—walking, holding a bag, or reaching across a big screen—and a brush of your thumb becomes a tap, or a long-press triggers a drag menu you didn’t want. You didn’t “miss” the button; the phone just accepted input faster than your hand could be precise in that moment.
Android has a quiet fix for this: timing controls. Look in Settings → Accessibility for options like Touch &'' hold delay and, on some phones, settings that ignore brief touches. If long-presses keep firing, set a longer delay so you have to mean it. If accidental taps happen when you’re repositioning your grip, try a setting that filters quick, light touches so a brush doesn’t count.
The cost is speed. A longer long-press delay can make copy/paste or rearranging icons feel sluggish, and filtering touches can make fast typing feel “off.” That’s why this works best as a quick test: change one setting, live with it for a day, then keep only what reduces the mistakes you actually make.
Keep the winners, ditch the rest: a 2-minute accessibility tune-up
That one-day test is the point: you’re not “setting up accessibility,” you’re trimming annoyance. Open Settings → Accessibility, then do a two-minute sweep. Turn off anything you tried and didn’t miss. Keep the one or two that you reached for without thinking.
Make the keepers easy to reach. If Live Caption helped only on the bus, leave it off by default and put it on the volume panel. If Extra Dim is your bedtime fix, pin its Quick Settings tile. For Magnification or Select to Speak, keep them on the Accessibility shortcut, but attach only one at a time so the trigger stays predictable.
The real-world snag is forgetting what changed. If your phone starts feeling “weird” a week later—slower long-presses, odd overlays, dim video—go back to Accessibility and reset one setting at a time. You want fewer surprises, not a new set of them.