Best Screenshot Annotation and Editing Tools for Teams
Vectorizer Tools: Converting AI Art to Scalable Vectors
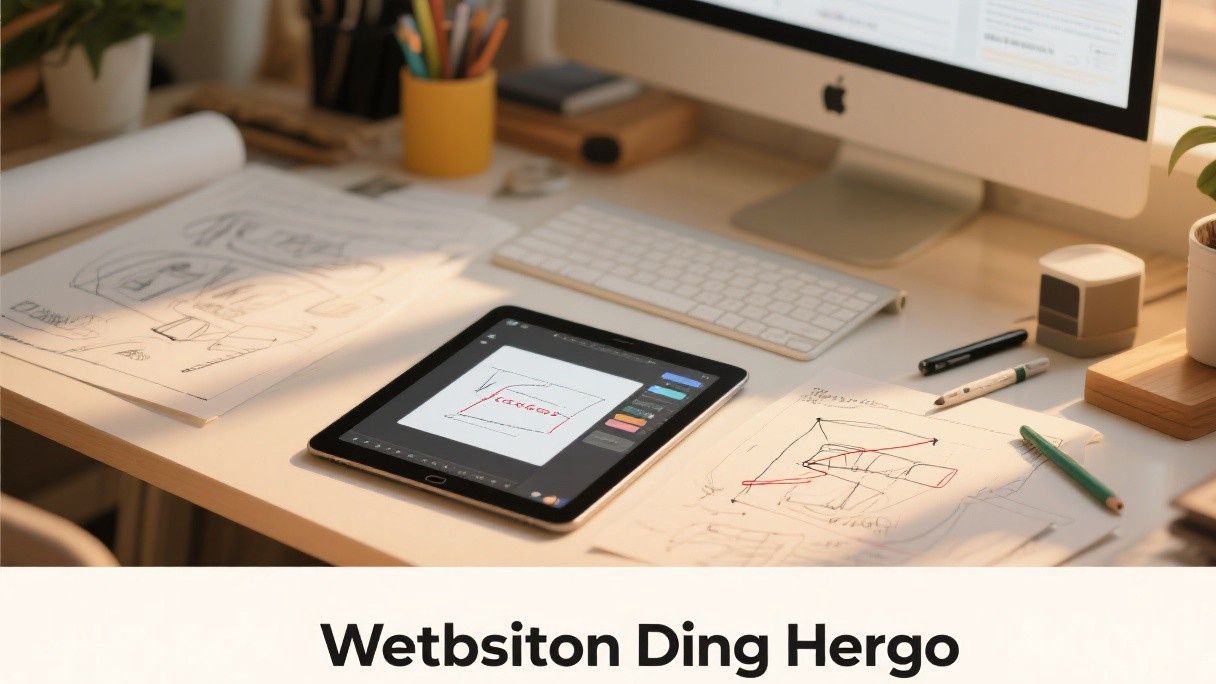
AI-generated illustrations are raster images (PNG or JPG), which means they lose quality when scaled up. If you need your AI illustration at multiple sizes (app icon, website header, print poster), you need a vector version. Vectorizer.ai and Vector Magic convert raster images to SVG vectors using AI-powered tracing algorithms.
Vectorizer.ai produces the most accurate traces for complex illustrations. Upload your AI-generated image, and the tool analyzes the shapes, colors, and edges to produce a clean SVG. The result is not a perfect replica—some detail is lost in the tracing process—but for flat and semi-flat illustration styles, the quality is sufficient for most professional uses. Vectorizer.ai charges per image (approximately $0.50-$2.00 depending on complexity) or offers a subscription for frequent users.
Vector Magic (vectormagic.com) provides more control over the tracing process. You can adjust the number of colors, the level of detail, and the smoothing amount. Vector Magic also offers a desktop application for offline use. The results are comparable to Vectorizer.ai for simple illustrations and slightly better for illustrations with many fine details. Pricing starts at $9.95 per month for the online version.
After vectorizing, open the SVG in Figma or Illustrator to clean up any artifacts: remove stray anchor points, simplify complex paths, and ensure colors match your brand palette. The vectorized version will never be identical to the original raster image, but with cleanup, it can serve as a professional-quality scalable illustration.
The Range of Non-Drawing Illustration Methods
Creating custom illustrations without drawing skills is entirely possible in 2025. The tools available fall into three categories: AI image generators that create illustrations from text descriptions, drag-and-drop illustration builders that let you compose scenes from pre-made elements, and vector editing tools that let you assemble illustrations from basic shapes. Each approach has different strengths, and the best method depends on the style and uniqueness you need.
DALL-E 3 and Midjourney: AI-Generated Illustrations
DALL-E 3 (available through ChatGPT Plus at $20 per month) generates illustrations from text prompts. The key to getting good results is specificity. Instead of "a business illustration," try "a flat vector illustration of a team collaborating around a laptop in a modern office, warm color palette with coral and teal accents, minimal style with simple shapes, no text, white background." The more detail you provide about style, color, composition, and technique, the closer the output will match your vision.
DALL-E 3 has an advantage over other AI generators for illustrations: it follows instructions more precisely. If you specify "no text," it will not include text. If you specify "flat vector style," it will produce a clean vector-like image rather than a photorealistic one. This precision reduces the amount of post-processing needed.
Midjourney (accessible through Discord, subscriptions from $10 per month) produces more aesthetically refined illustrations but is less controllable than DALL-E 3. Midjourney excels at artistic styles: watercolor, ink wash, papercut, isometric, low-poly, and hand-drawn. A prompt like "isometric illustration of a coffee shop interior, warm lighting, pastel colors, soft shadows, Studio Ghibli inspired" produces results that feel handcrafted and unique.
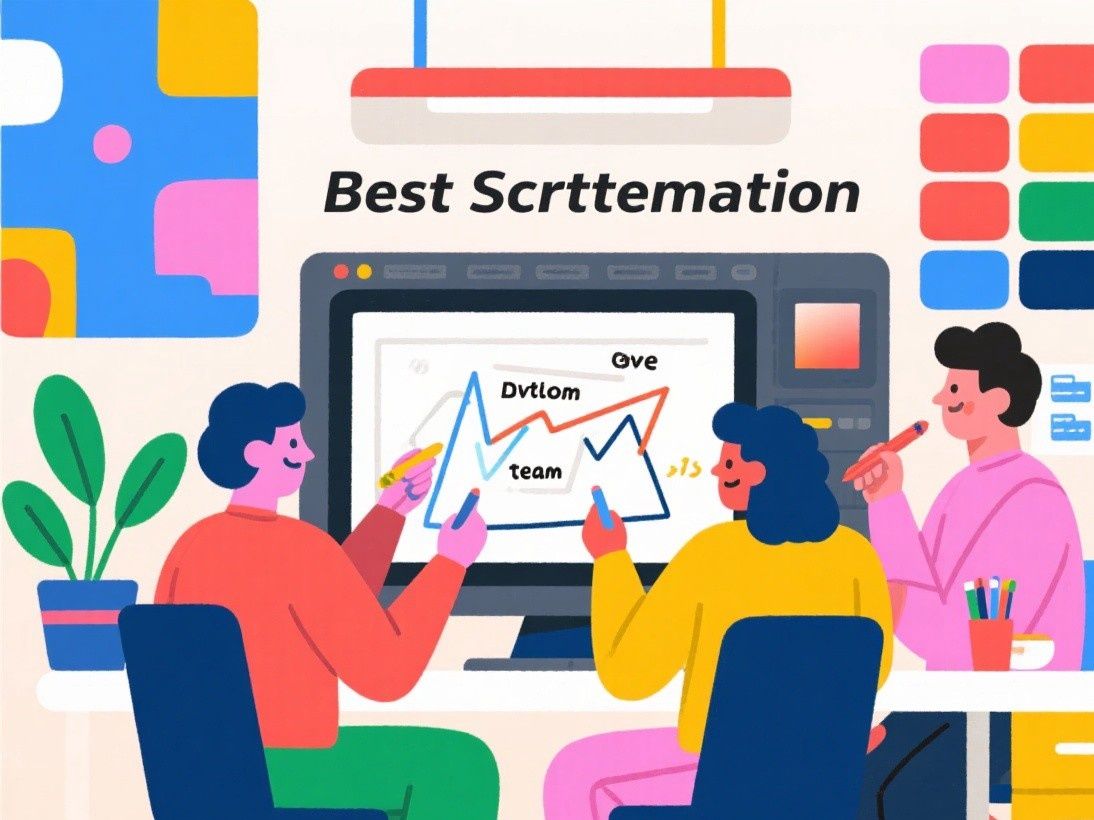
Both tools produce raster images (PNG or JPG). If you need vector output (SVG or AI format), you will need to trace the AI-generated image using a vectorizer like Vectorizer.ai or Adobe Illustrator's Image Trace. The trace quality varies—simple flat illustrations trace well, but complex illustrations with many colors and details may lose quality.
Blush: Drag-and-Drop Illustration Builder
Blush (blush.design) is a free illustration tool that lets you create custom illustrations by mixing and matching pre-drawn elements. Select an illustration collection (each collection is created by a different artist with a distinct style), then customize the characters, objects, and backgrounds by choosing from the available options within that collection.
Each collection includes a set of elements: heads, hairstyles, bodies, clothing, accessories, objects (laptops, phones, plants, books), and backgrounds. You compose your illustration by selecting elements and arranging them on the canvas. The result is a custom illustration that looks hand-drawn but requires no drawing skill.
Blush's collections cover a range of styles: flat design, line art, 3D, watercolor, and abstract. Popular collections include "Open Peeps" (simple line-art people), "Blob" (abstract organic shapes), and "Rauno" (playful flat illustrations). The tool is free for personal and commercial use, and you can download the illustration as SVG or PNG.
Storyset by Freepik: Animated Customizable Illustrations
Storyset (storyset.com) provides customizable illustrations that you can edit in the browser. Choose an illustration from the library (organized by category: business, education, technology, health, finance), and the editor lets you change colors, swap elements, and add animations. The animation feature is Storyset's differentiator—you can make any illustration animate with entrance effects, loop animations, or interactive hover effects.
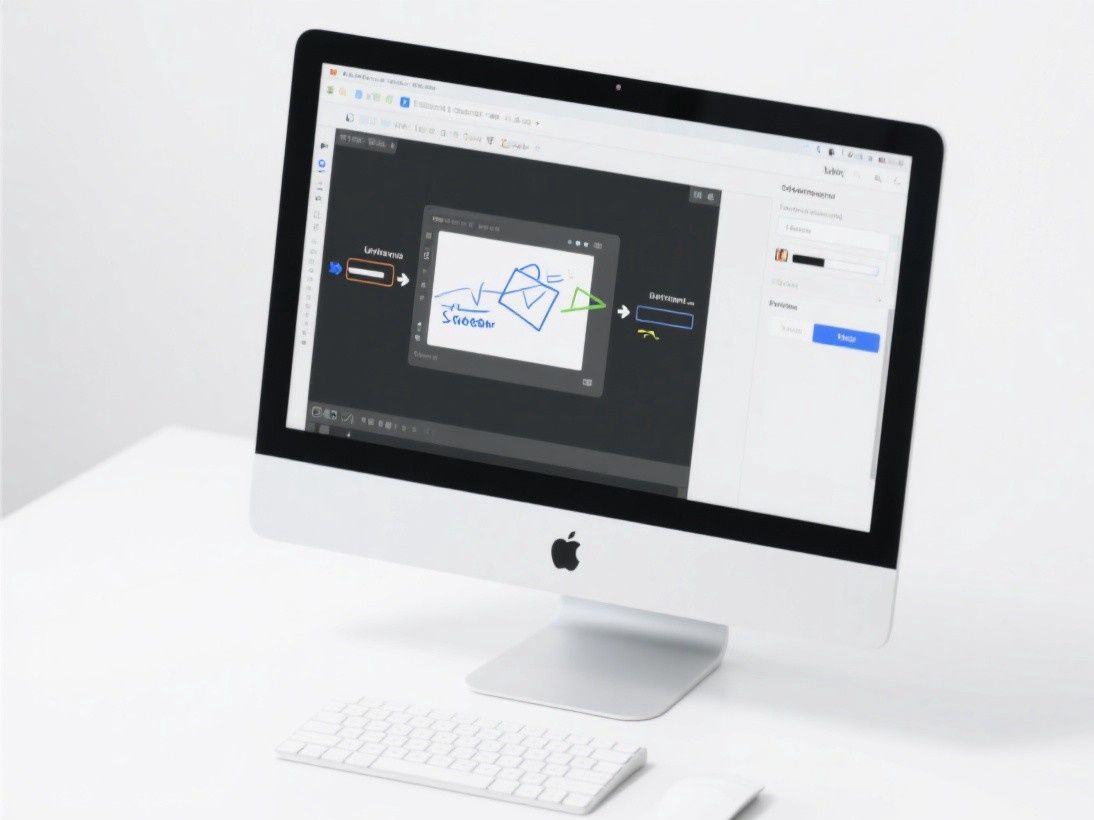
Storyset illustrations are available in SVG format, which means they scale to any size and can be edited in any vector editor after download. The color customization is applied through CSS variables, so developers can also change colors programmatically. For websites and apps that need consistent illustration styles with animation, Storyset is a practical solution.
Figma: Building Illustrations From Basic Shapes
You can create custom illustrations in Figma using basic shapes (rectangles, circles, ellipses, lines) and Boolean operations (Union, Subtract, Intersect). This approach works well for geometric, flat, and minimalist illustration styles where the subject can be broken down into simple shapes.
Start by finding a reference image—a photograph or existing illustration that shows the composition you want. Place the reference image on your canvas and lower its opacity. Then use Figma's shape tools to trace the major forms: a circle for a head, a rectangle for a body, rounded rectangles for arms and legs. Use the Union operation to merge overlapping shapes, and the Subtract operation to cut holes (for eyes, windows, or negative space). This method produces clean, scalable vector illustrations that are entirely custom and unique.
Figma Community offers illustration kits with pre-made body parts, poses, and accessories that you can mix and match. Search for "illustration kit" to find options like "Hand-Drawn Illustration Kit" or "Flat Character Builder." These kits provide the building blocks for custom illustrations while maintaining a consistent style across your project.
Choosing the Right Approach
For unique, one-of-a-kind illustrations with a specific artistic style, use AI generators (DALL-E 3 or Midjourney) and accept the raster output. For consistent, on-brand illustrations that you can edit and animate, use Blush or Storyset. For fully custom vector illustrations that you own completely (no licensing concerns), build them in Figma from basic shapes. Many projects benefit from combining approaches: use AI for hero illustrations that need visual impact, and Blush or Storyset for recurring illustration needs like blog posts and documentation.