4 Scrappy Tips I Use to Survive Cellular Deadzones When I Travel
The moment your phone turns into a brick (and why it always happens at the worst time)
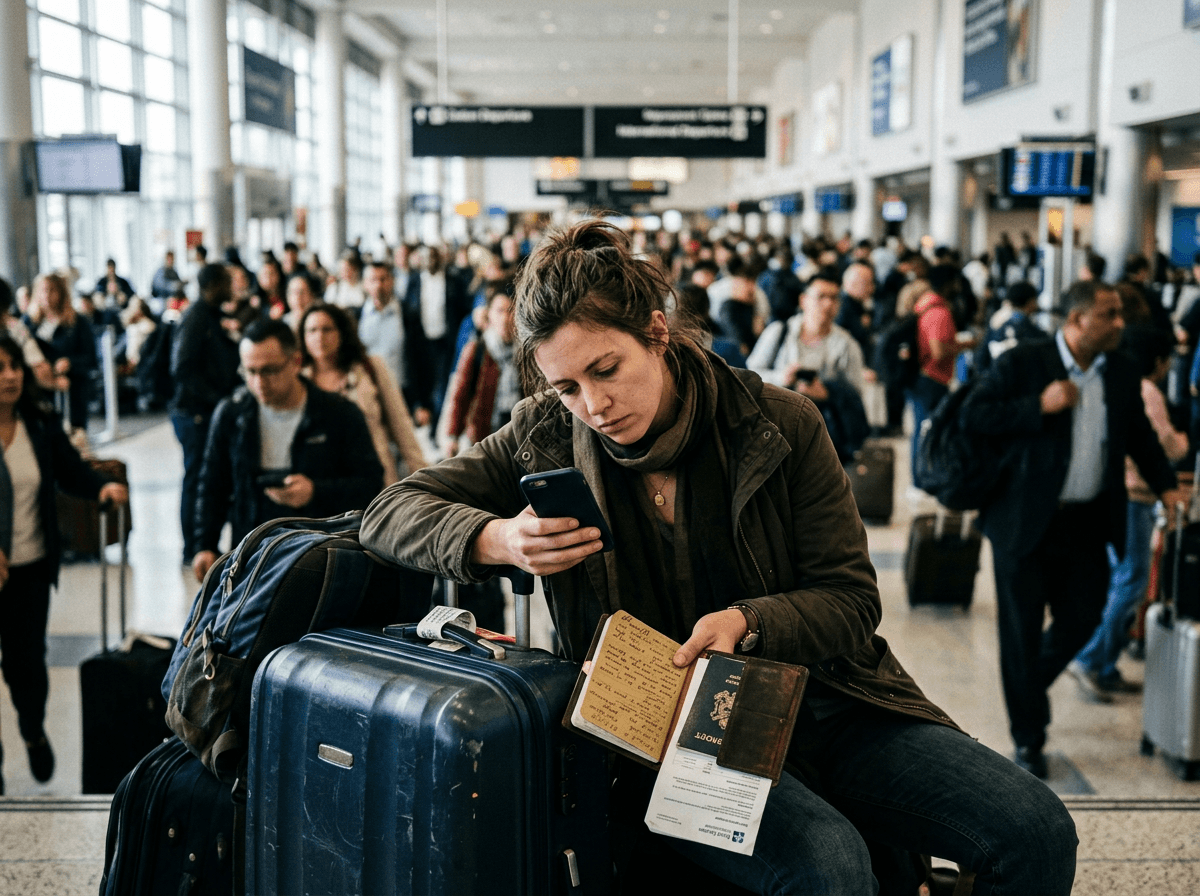
You know the moment: you step off a plane, follow the signs toward ground transport, and your phone suddenly shows “No Service.” The rideshare pickup point is moving, the hotel is texting a door code you can’t receive, and the map won’t load the one turn that matters. It’s rarely the quiet part of a trip.
Dead zones show up where networks are stressed or blocked—underground platforms, crowded terminals, mountain roads, and the first few minutes after you land and your phone is still hunting for a tower or a roaming partner. Even “full bars” can fail when data stalls. The hard part isn’t the lack of signal; it’s realizing how many small travel tasks now assume you always have it.
You don’t need a bunker-style setup to fix this. You need to decide, before you pack, what has to keep working when data disappears.
Before you pack, decide what you’ll need when data disappears
That decision starts with a quick scan of what you actually do on your phone in the two hours around arrivals and departures. You usually need to get from A to B, prove you have a booking, and coordinate with one other person. If you can do those three things without live data, most dead zones shrink from “problem” to “annoying.”
So before you pack, pick your “must-work” list and be blunt about what breaks your day. If your hotel key is in a text thread, that’s fragile. If your boarding pass only lives in an airline app that logs you out, that’s fragile. If your route depends on searching “best way to…” in the moment, that’s fragile. Write down the exact items: address, confirmation numbers, pickup instructions, and one local map view.
The limitation: this takes ten minutes at home and feels unnecessary—until you’re tired, in a loud terminal, and everyone else is also fighting for signal.
Tip 1: What I always make available offline (maps, bookings, and the one screenshot that matters)
That ten minutes at home pays off fastest when you can still navigate, prove your booking, and get inside—without waiting for a single bar to appear. I keep three things available offline: a map, my core reservations, and one screenshot that covers the “I’m stuck” moment.
For maps, I download the city area (or the whole region if I’ll drive) in my mapping app and star the places I’ll actually need: hotel, airport, meeting address, and the backup option (a second hotel, a major train station). I also save the hotel address in plain text in my notes. The limitation is storage and stale info: offline maps can be big, and a last-minute road closure won’t show up, so I still sanity-check routes when I do have data.
For bookings, I save PDFs or wallet passes for flights, rail, and hotels, plus the confirmation numbers in one note. Then I take a single screenshot of: hotel name + address + check-in instructions + reservation number. If I have that, I can talk to a desk, a driver, or a guard and keep moving.
Tip 2: When one connection fails, what’s your next best option?
That same screenshot gets you through the first conversation, but the next snag is usually needing a connection again—calling the driver, pulling up a change notice, or rebooking when a gate flips. When cellular drops, I assume it won’t come back quickly and switch to the next-best option on purpose instead of refreshing and hoping.
My order is simple: airport or hotel Wi‑Fi first, then a secondary data path. Wi‑Fi works well for updates, rides, and email, but it can waste time with captive portals and weak coverage in pickup areas. For the secondary path, an eSIM plan (or a local SIM) is the lightest backup, and a separate hotspot can help if you travel with a laptop or a group. The real cost is money and battery: roaming and day-passes add up, and running hotspot mode can drain a phone fast.
Even with those options, plan for moments when you still can’t reach a person—because that’s when a pre-agreed fallback matters most.
Tip 3: If you can’t message anyone, what’s the fallback plan you’ve already agreed on?
That’s the moment people start doing laps: you can’t text your partner, the pickup point is crowded, and everyone is staring at their phone like it will fix itself. When messaging fails, a fallback plan keeps you from improvising under pressure. Agree on it before the trip, the same way you’d agree on a meeting spot at a concert.
Pick one primary meetup location that won’t change (for airports: a specific door number, baggage carousel, or an information desk) and one time rule (“wait 20 minutes, then go to X”). Add a second rule for split scenarios: if one person lands first, they do one concrete task, like getting in the taxi line or grabbing a luggage cart, then return to the spot. If you’re meeting a driver, decide what you’ll do if you can’t connect—call the company from a desk phone, or switch to a marked taxi stand.
The limitation is social, not technical: it can feel awkward to “overplan” with friends, but it saves you the worst kind of delay. Once you’ve nailed this, the next step is knowing what to do in the exact places dead zones hit hardest.
Tip 4: The in-the-moment moves that keep you unstuck in airports, subways, and unfamiliar streets
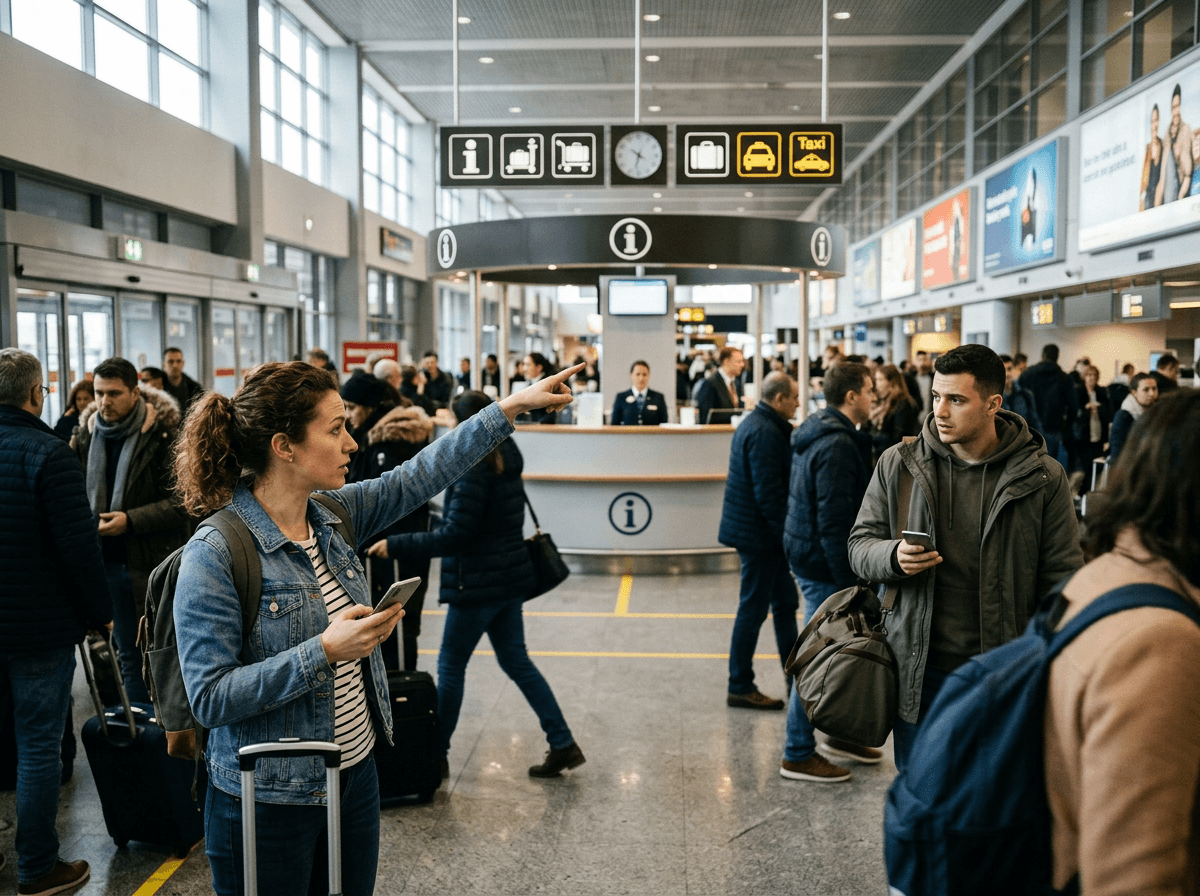
Those places are usually predictable: the jet bridge, the baggage hall, the underground platform, the station exit where your map freezes and you need the one left turn. In the moment, stop treating your phone like a slot machine. Pick one “anchor” and work the problem from there: an information desk, a posted transit map, a taxi stand, or a hotel front door. If you can’t load anything, ask a human for one concrete thing (“Which exit for Main Street?”) and walk to a labeled sign you can confirm with your eyes.
In subways, take a photo of the station name and the line direction on the wall before you go down. On platforms, check the next-stop list in the car, not your phone, and count stops. In airports, screenshot the terminal map while you still have Wi‑Fi and note the door number where you’ll re-surface.
The limitation is pride and pace: stopping to verify feels slow, but wrong turns cost more. Once you’ve practiced these moves, a short checklist makes them automatic.
Your deadzone checklist: a tiny routine that makes the next trip calmer
That short checklist is what turns those moves into muscle memory when you’re tired and rushed. Before you leave home (or the night before a return flight), do this: download the map area, star your key places, and save one note with the hotel address, confirmation numbers, and pickup instructions. Add the one screenshot that would get you inside even if every app logs you out.
Then choose your “next connection” in advance: Wi‑Fi plan, eSIM/SIM, or hotspot—and pack the cable or battery you’ll need, because backups fail when your phone is at 9%. Finally, set one meetup spot and one time rule with whoever you’ll coordinate with. Ten minutes now beats an hour of laps later.