5 Settings That Make or Break Your Outdoor Projector Setup
You set it up… and it looks nothing like the photos
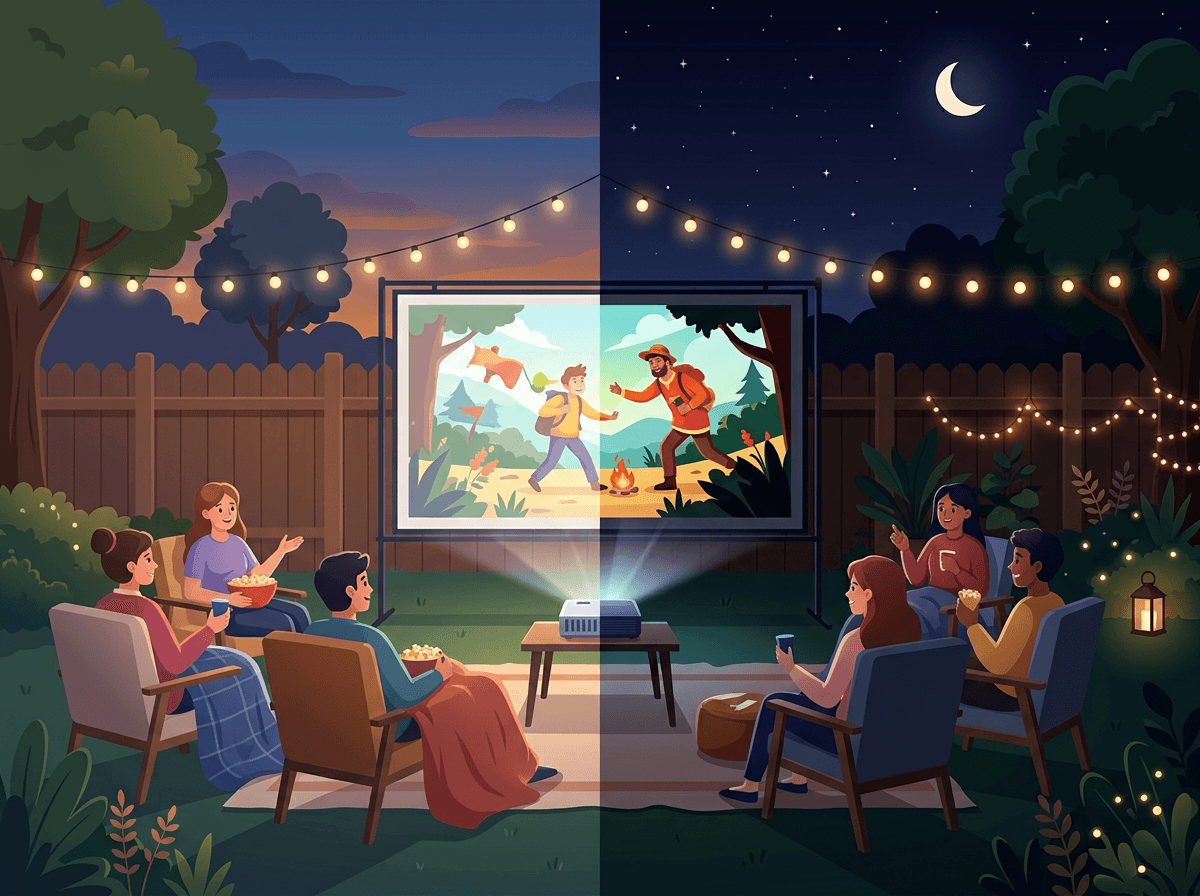
You drop the projector on a patio table, pull up a streaming app, and the picture immediately feels disappointing. The “promo” photos looked punchy and clean; your backyard version looks gray, uneven, and a little off, even before anyone says it out loud. That gap is normal. Outdoor setups change fast with sunset, porch lights, and how far you had to place the projector to make the screen fit.
The mistake is treating it like an indoor TV: set it once and forget it. Outside, five settings do most of the work, and they’re quick if you hit them in the right order. Ignore them and you’ll keep chasing the wrong fix—cranking brightness when the real issue is angle, or resizing the picture when the screen is simply too big for your throw tonight.
Start by solving the one thing you can’t compensate for later: how much light is still in the yard when you actually plan to press play.
Washed out before it’s fully dark: the one brightness setting you can’t ignore
When you hit play too early, the picture doesn’t look “dim” so much as flat: blacks turn gray, faces lose contrast, and the whole image looks like it has a light fog over it. That usually isn’t focus or color yet. It’s the projector sitting in the wrong brightness mode for the amount of light still bouncing around your yard.
Find the setting labeled Brightness Mode (often “Eco/Standard/Bright,” sometimes “Dynamic” or “Outdoor”). If it’s not fully dark, switch to the brightest mode even if it sounds less “cinematic.” You’re buying visibility while the sky is still glowing and the neighbor’s porch light is on. Then, once it’s truly dark, you can step down to Standard or Eco to calm the fan noise and deepen the blacks.
The real-world downside: the brightest mode can make the projector louder and can wash out skin tones a bit. If you’re still squinting in Bright mode, don’t keep tweaking sliders—shut off nearby lights, dim string lights, or wait 15–20 minutes and start the movie later.
The image is crooked—do you move the projector or fix it in the menu?
Once the image is bright enough to judge, you’ll notice the next outdoor giveaway: the picture is higher on one side, or it looks like a trapezoid instead of a rectangle. Most people jump straight into the menu and start keystone-correcting. Resist that at first.
If the projector isn’t centered on the screen and level side-to-side, move it. Nudge the table, shim a leg with a folded napkin, or lower the front foot until the image looks square without any digital help. This keeps more real pixels on the screen, which matters outside where you already need every bit of detail.
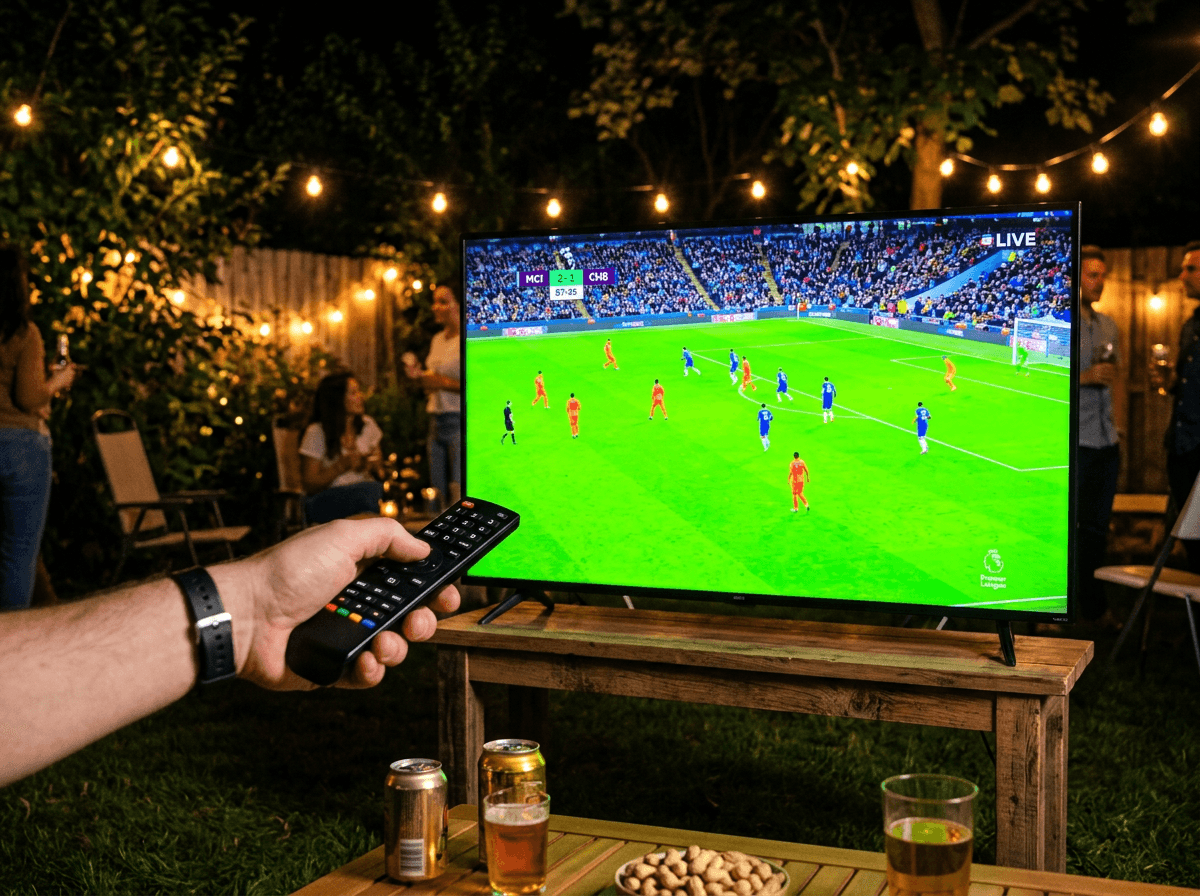
Use keystone only for small cleanup when you can’t physically fix it—like when the table can’t move or the screen is slightly off. Big keystone corrections can make text look a little fuzzy and can add a tiny bit of lag, which you’ll notice during sports. Once it’s squared up, then you can judge sharpness without guessing.
It’s still soft: focus, zoom, and the ‘good enough’ sharpness test from your lawn chairs
Once the picture is square, the annoying part shows up: it still looks a little soft, especially around subtitles and jersey numbers. Walk up to the projector and use the physical focus ring/slider first if it has one. Then use the on-screen focus test pattern if available, or pause on a menu with small text. Adjust until the center is crisp, then check the corners—outdoor screens often have a slight wave that makes one edge look less sharp.
Zoom is where people lose time. If zooming bigger makes the image look blurrier, don’t “fix” that with more focus. Back the zoom off a touch and shrink the image so the sharpest part lands on the screen area you’ll actually watch.
Now do the lawn-chair test: sit where you’ll watch from, pull up subtitles or a scoreboard, and see if you can read it without leaning forward. If you can, stop. Chasing perfect corner-to-corner sharpness in a breezy yard usually turns into moving the projector again—which can change the screen size you can realistically fill tonight.
Bigger isn’t always better: picking a screen size that fits your throw distance tonight
That last nudge to get things sharp often leaves you with an awkward realization: the picture is either spilling past the screen, or you’re barely filling it. In a backyard, the fastest fix usually isn’t another focus tweak—it’s choosing a screen size your throw distance can actually support tonight.
If you can’t move the projector back (patio ends, extension cord is maxed, people need to walk behind it), don’t force a 120-inch image just because the screen can. Shrink the image until it sits cleanly inside the borders. You’ll get a brighter picture and better contrast because the same light is concentrated into a smaller area. Sports look better too, since thin lines and text hold together instead of turning gray and fuzzy.
The real-world snag: resizing can reveal ripples or a slight tilt you didn’t notice when the image was oversized. Once the size is set, take one more quick look at color—outdoor lighting can push skin tones in weird directions.
Colors look odd in the backyard lighting—what should you change (and what should you leave alone)?
That “weird” color usually shows up as soon as someone’s face fills the screen: everyone looks a little green, too red, or oddly pale under porch lights and string lights. The fastest fix is almost never the advanced color sliders. Start with Picture Mode: try Movie/Cinema if the image feels harsh, or Standard if it looks dull. Then change Color Temperature (Warm/Normal/Cool). In most yards, Warm pulls skin back toward normal; Cool often makes whites look blue.
If the grass looks neon or jerseys look radioactive, nudge Color/Saturation down a few clicks. If faces look sunburned, pull it back again and leave Tint alone unless everything is clearly green or clearly magenta. Save contrast/brightness for earlier—at this point you’re matching the yard’s light, not rebuilding the whole picture.
The downside: every tweak can make streaming compression more obvious, especially on big flat colors like skies or courts. When people start arriving, lock in “natural enough” and move to the settings that prevent mid-movie glitches.
When sound or power gets glitchy: the two settings that prevent mid-movie chaos
That’s when the picture finally looks “natural enough,” and the failure you notice first isn’t visual at all: the sound cuts out for a second, or the projector suddenly blanks like it lost power. Before you start swapping cables in the dark, check two settings that quietly cause most mid-movie chaos outside.
First: HDMI-CEC (sometimes “CEC,” “Anynet+,” “Bravia Sync,” “Simplink”). Turn it off on the projector and your streaming stick if you can. CEC is meant to help devices control each other, but outdoors it can do the opposite—one device goes to sleep, then it drags the other with it, or it steals audio back from your speaker.
Second: Auto Power Off / Sleep Timer. Set it to the longest option, or disable it for the night. Pauses between innings, buffering, or a long “Are we starting yet?” moment can look like “no signal,” and some projectors will shut down right in the middle of it. After that, run your quick pre-guest check so you’re not guessing when people are watching.
A five-setting pre-guest checklist you can run in under 10 minutes
That quick pre-guest check is where you lock the setup so it stays stable when the yard gets busy. Ten minutes before anyone arrives, pull up a streaming menu and run five settings in this order: Brightness Mode (Bright until it’s truly dark), keystone (only small cleanup after you’ve leveled the projector), focus (center crisp, then lawn-chair readability), image size (shrink to fit inside the screen border), and Picture Mode/Color Temperature (aim for normal faces).
Then hit the two glitch-stoppers: CEC off and Sleep Timer off/longest. The annoying cost is fan noise in Bright mode and the temptation to keep tweaking. Don’t. When it looks good from the seats, start the movie.